Playroom Storage Ideas
This post may contain affiliate links. This means if you click on the link and purchase
the item, I will receive an affiliate commission. More here: Disclaimer & Privacy Policy
Looking for playroom storage ideas? Bingo bango, here you go!
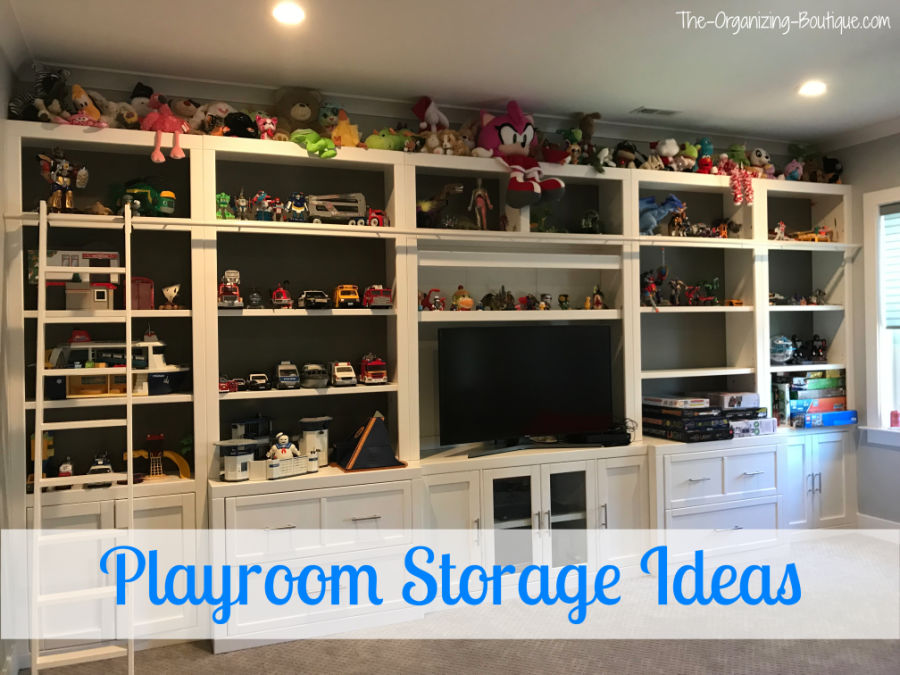
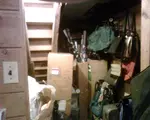
This was a fun project, as my client had just moved in to their new house and the playroom was a clean slate. When I first visited, the room had nothing in it but unpacked boxes of toys. When we finished, the room had an entire wall of storage with toys organized and accessible on the shelves and in the drawers. Keep reading to see how we accomplished this organization heaven from start to finish!

Playroom Storage Ideas: Step-By-Step Instructions
We started by unpacking the boxes of toys and categorizing them, so her kids could easily identify what they had.
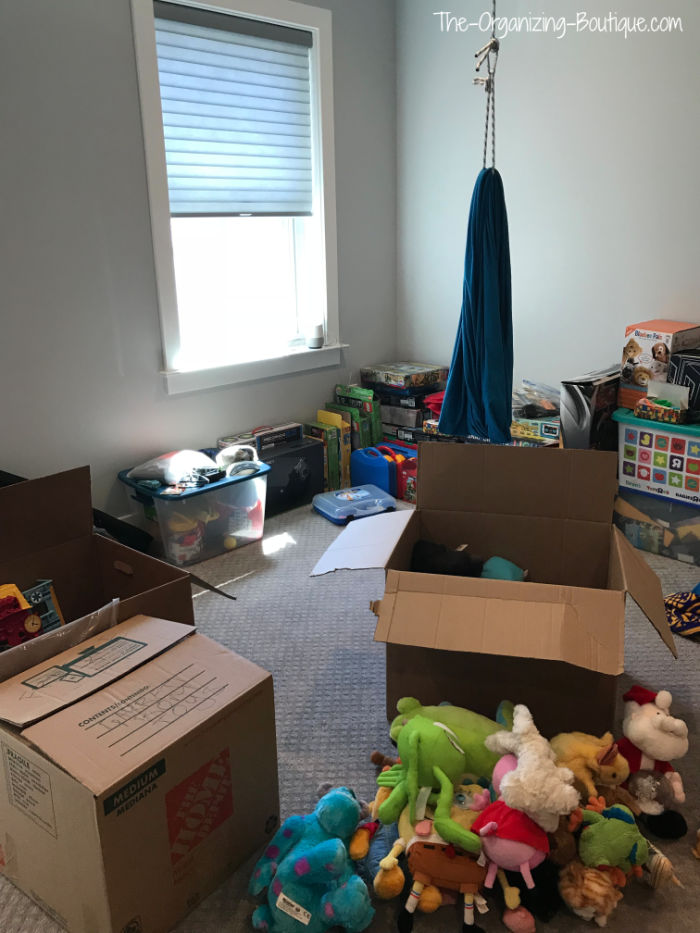
Then her boys (ages 5 and 9) sorted the toys into categories: items to give away, items to keep in the play room and items to keep in their rooms. The items to be donated were boxed up and taken downstairs to be put into the car. The toys that were going to be kept in the kids' rooms were distributed accordingly. Once that was done, all that was left were the toys that were staying in the playroom.
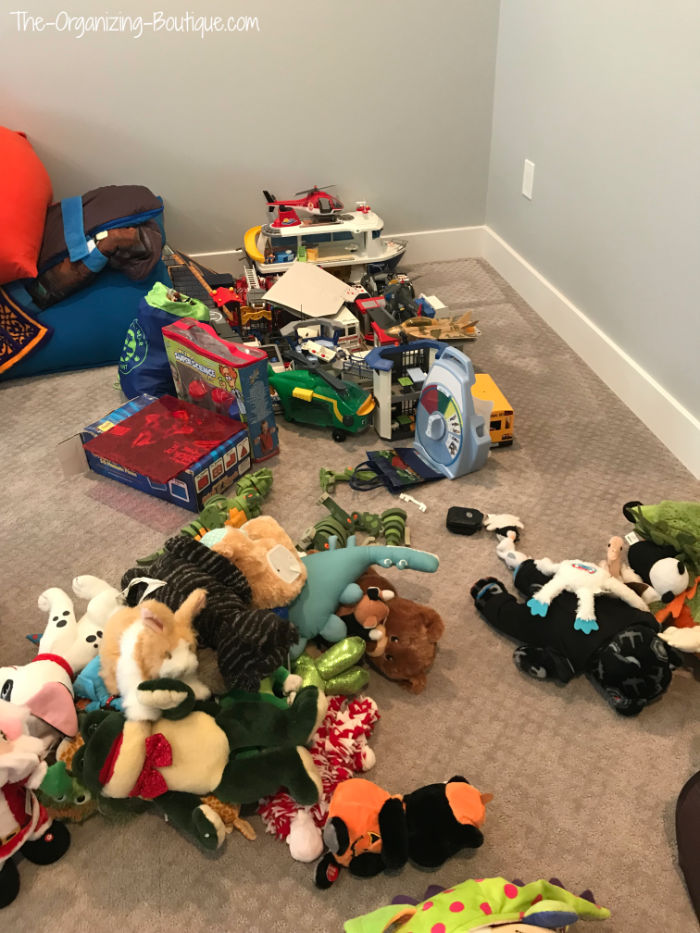
Now that we could see all the toys that were staying in the playroom in front of us, we were able to plan out where the toys were going to be stored in the wall unit. The kids decided that the stuffed animals weren't really being played with anymore and could serve more as decoration on the very top shelf of the wall unit.
As you can see in the photo below, the wall unit looks like it's built in but it's not! My client ordered it from Furniturecart.com. It's the Catalina Large Modular Entertainment Wall (https://www.furniturecart.com/catalina-large-modular-entertainment-wall-cat-405-420-ent-wall-parker-house.html).
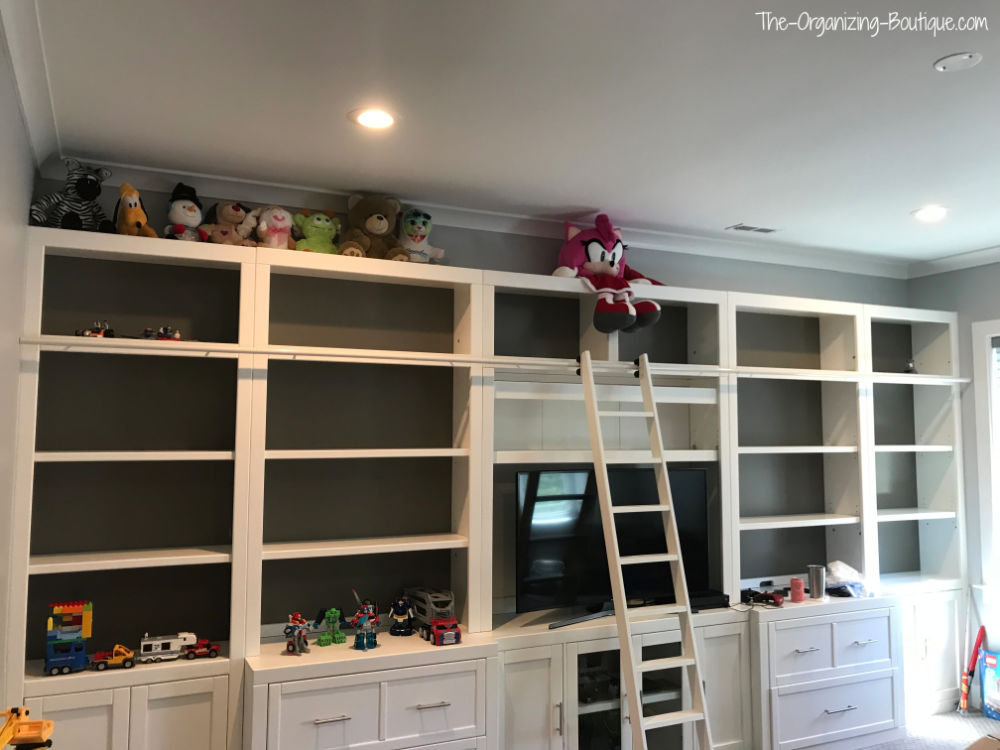
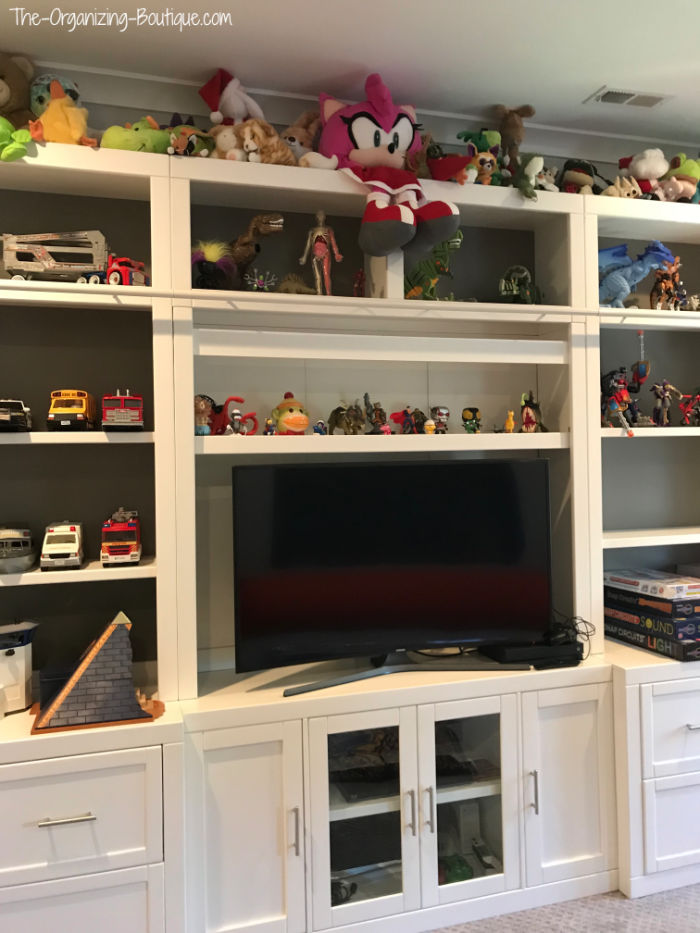
Once we got all of the stuffed animals displayed across the entire top shelf, we worked our way down. Since the upper shelves were harder to access, we used them to display toys that had already been put together and/or things that weren't being played with anymore but still had sentimental significance.
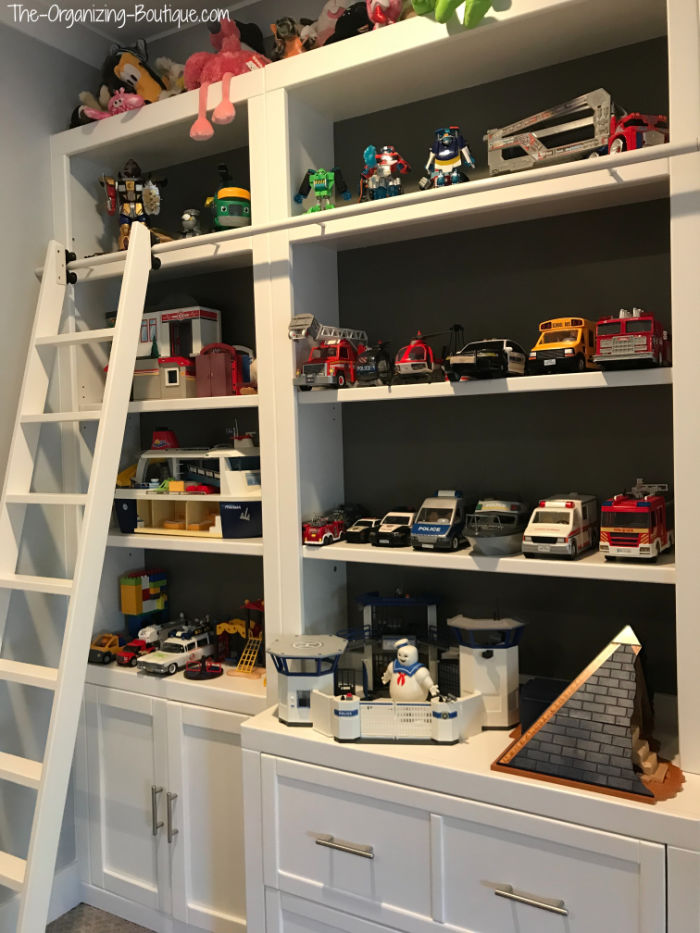
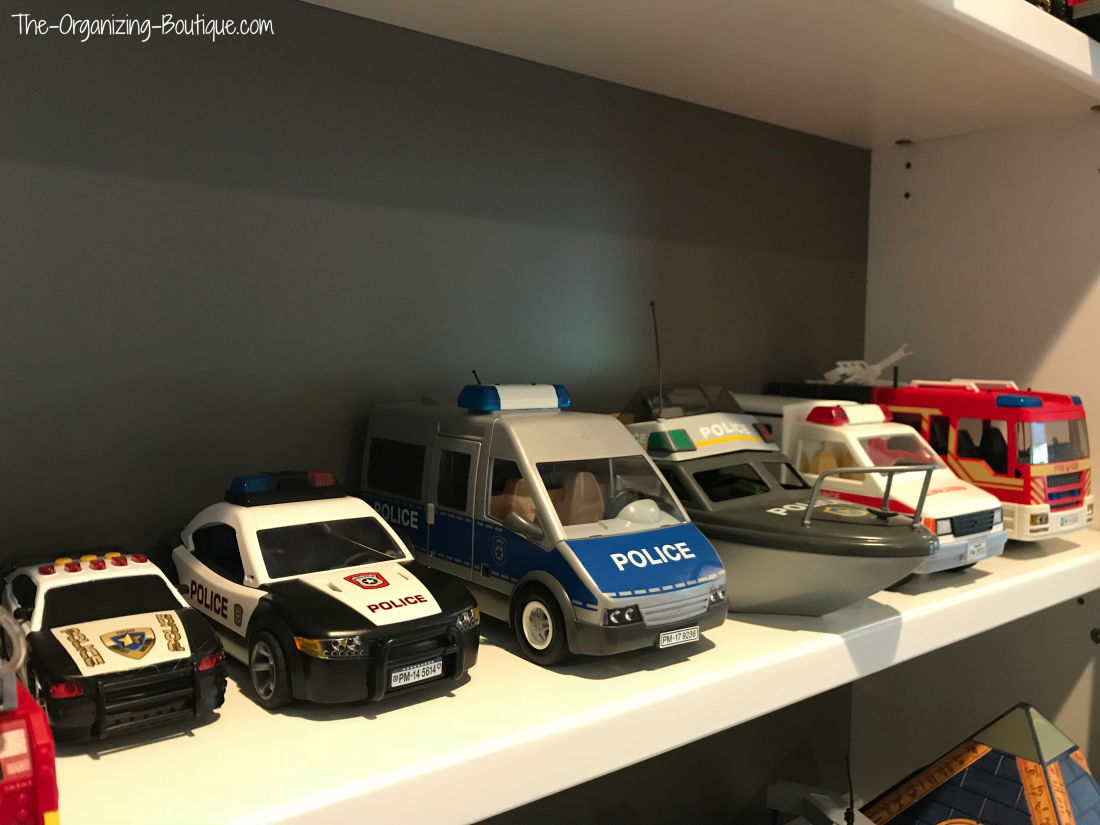
The lower two shelves were reserved for toys, games and Lego sets that were frequently being accessed and played with a lot. We left an open shelf for displaying future completed Lego projects as well.
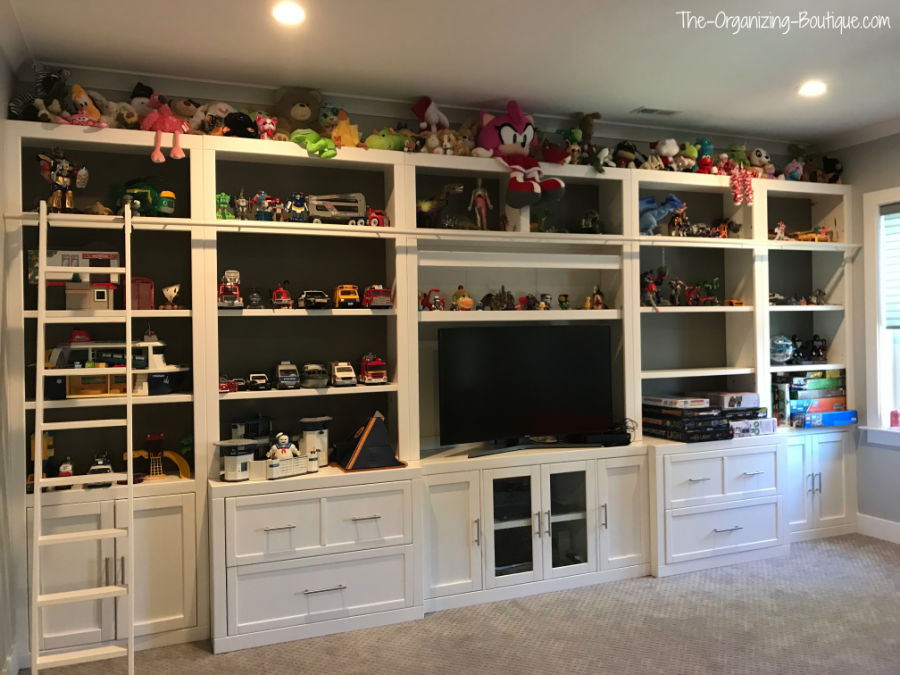
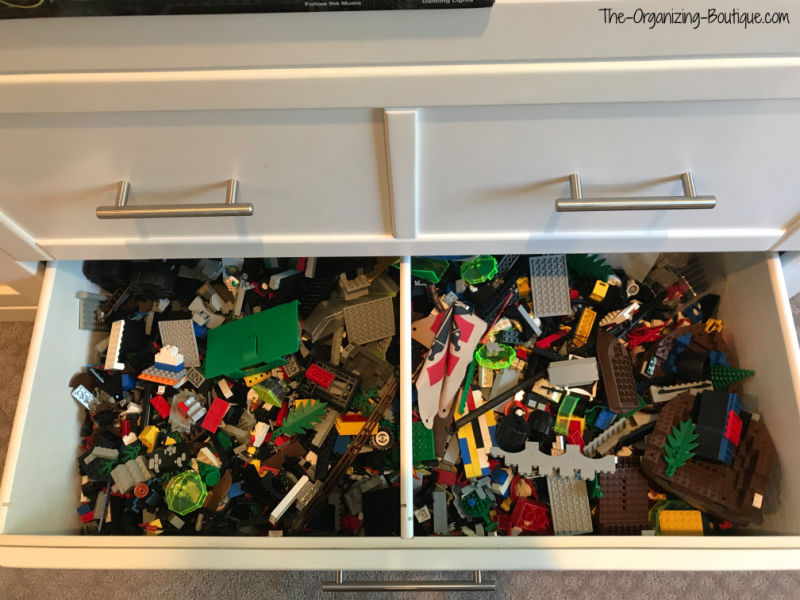
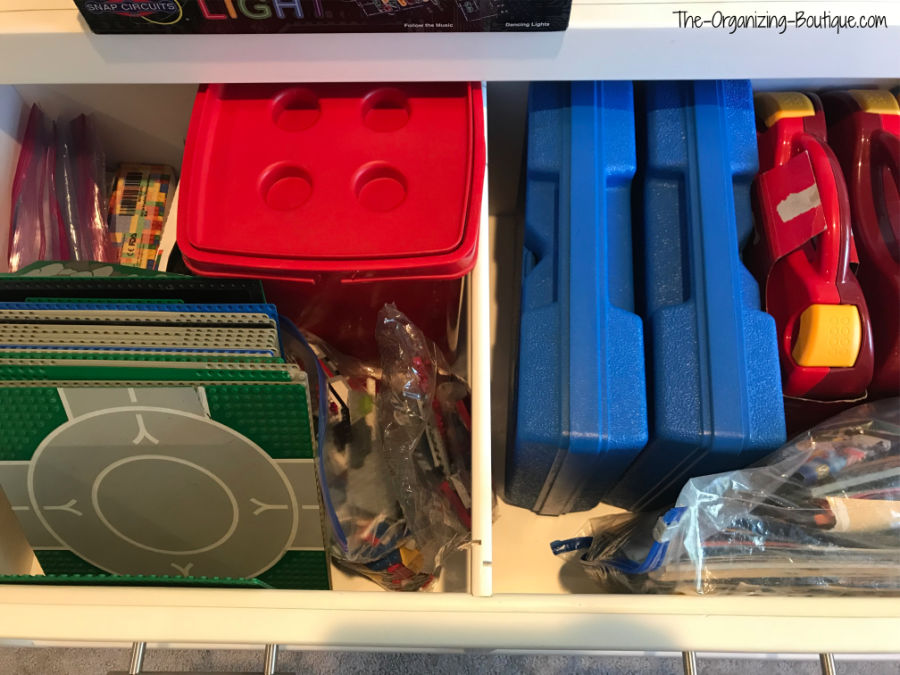
We used one of the drawers to store loose Lego pieces and another for accessories, cases, bagged sets and so on.
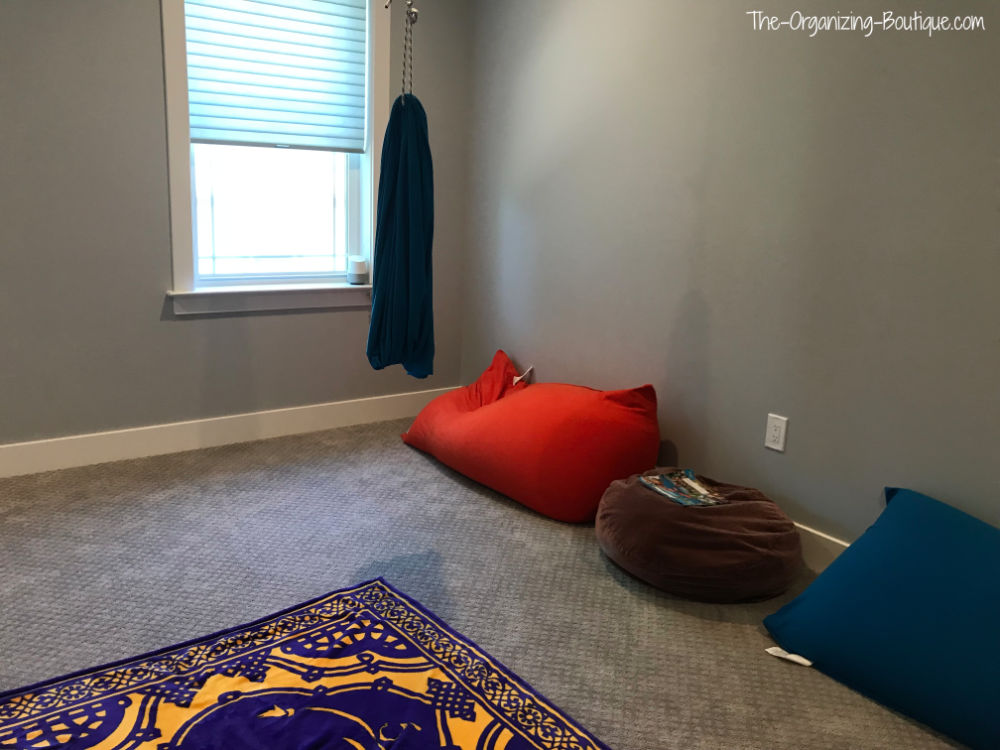
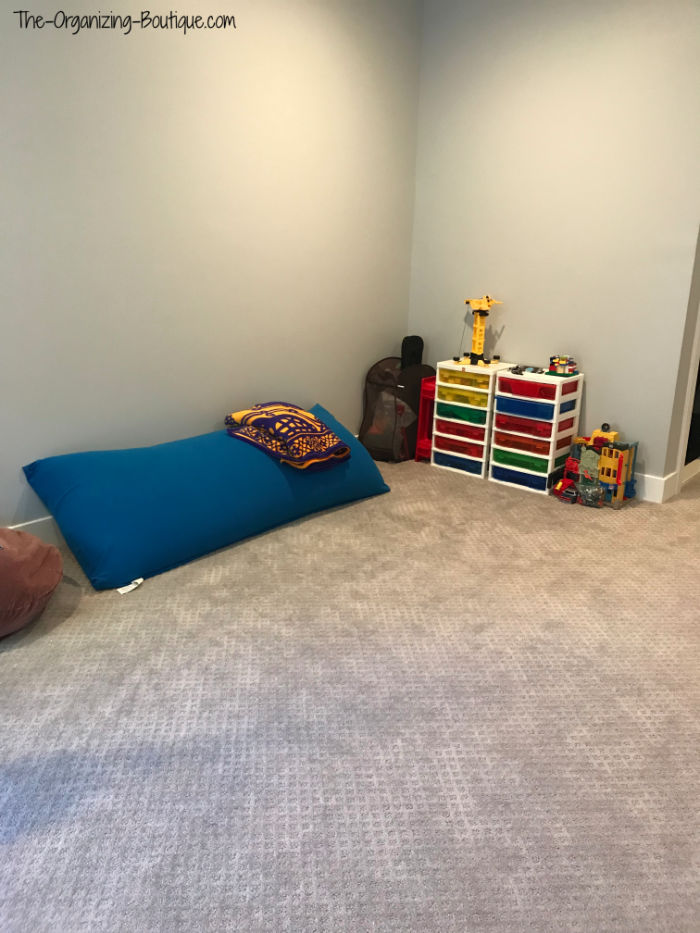
The rest of the room was kept clear with the exception of some fun pillows and bean bags to sit on. What an inviting and open space for play time!
We used one small part of a wall to store the freestanding Lego case drawers, a hamper holding long things and any other toys too large to fit in the wall unit.
There you have it! The playroom storage process from start to finish. I hope this helps you with your playroom storage project. Have any questions or comments? Leave them below; we would love to hear from you!
I Crush Clutter T-Shirt
(and more customizable products from Zazzle)
You might also like these...
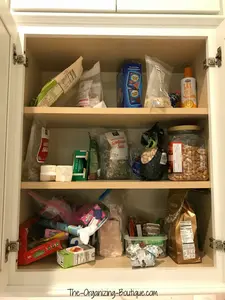
Kitchen Pantry Storage Cabinet
I helped a client organize her kitchen pantry storage cabinet, and she loves it. Come check out the before and after photos as well as the products we used!
Closet Shoe Organizers - New Uses | Recycle Household Items
Over-the-door closet shoe organizers can be used in so many different ways. I love to recycle household items. Here's how to do it!
Closet Organization Tips | Organize Closet Under The Stairs
Organizing a closet under the stairs can be a real challenge. Here are closet organization tips complete with before and after photos to help you through the process.
Like What You Just Read? Want More?

GET UPDATES
MEET THE ORGANIZER

Hi and welcome to The Organizing Boutique! My name is Nealey, and it's lovely to meet you. Read more about me here.

Facebook Comments