Pantry Room Organizing Ideas
This post may contain affiliate links. This means if you click on the link and purchase
the item, I will receive an affiliate commission. More here: Disclaimer & Privacy Policy
Do you have a pantry room? I have several clients who do, and it's so much fun to organize that space. Baskets, turn tables, bins, oh my!
Below you'll find awesome before and after photos of one of my clients' pantry rooms along with the organizing process and the products we used. Enjoy the transformation!

The Step-By-Step Process Of How
We Organized This Pantry Room
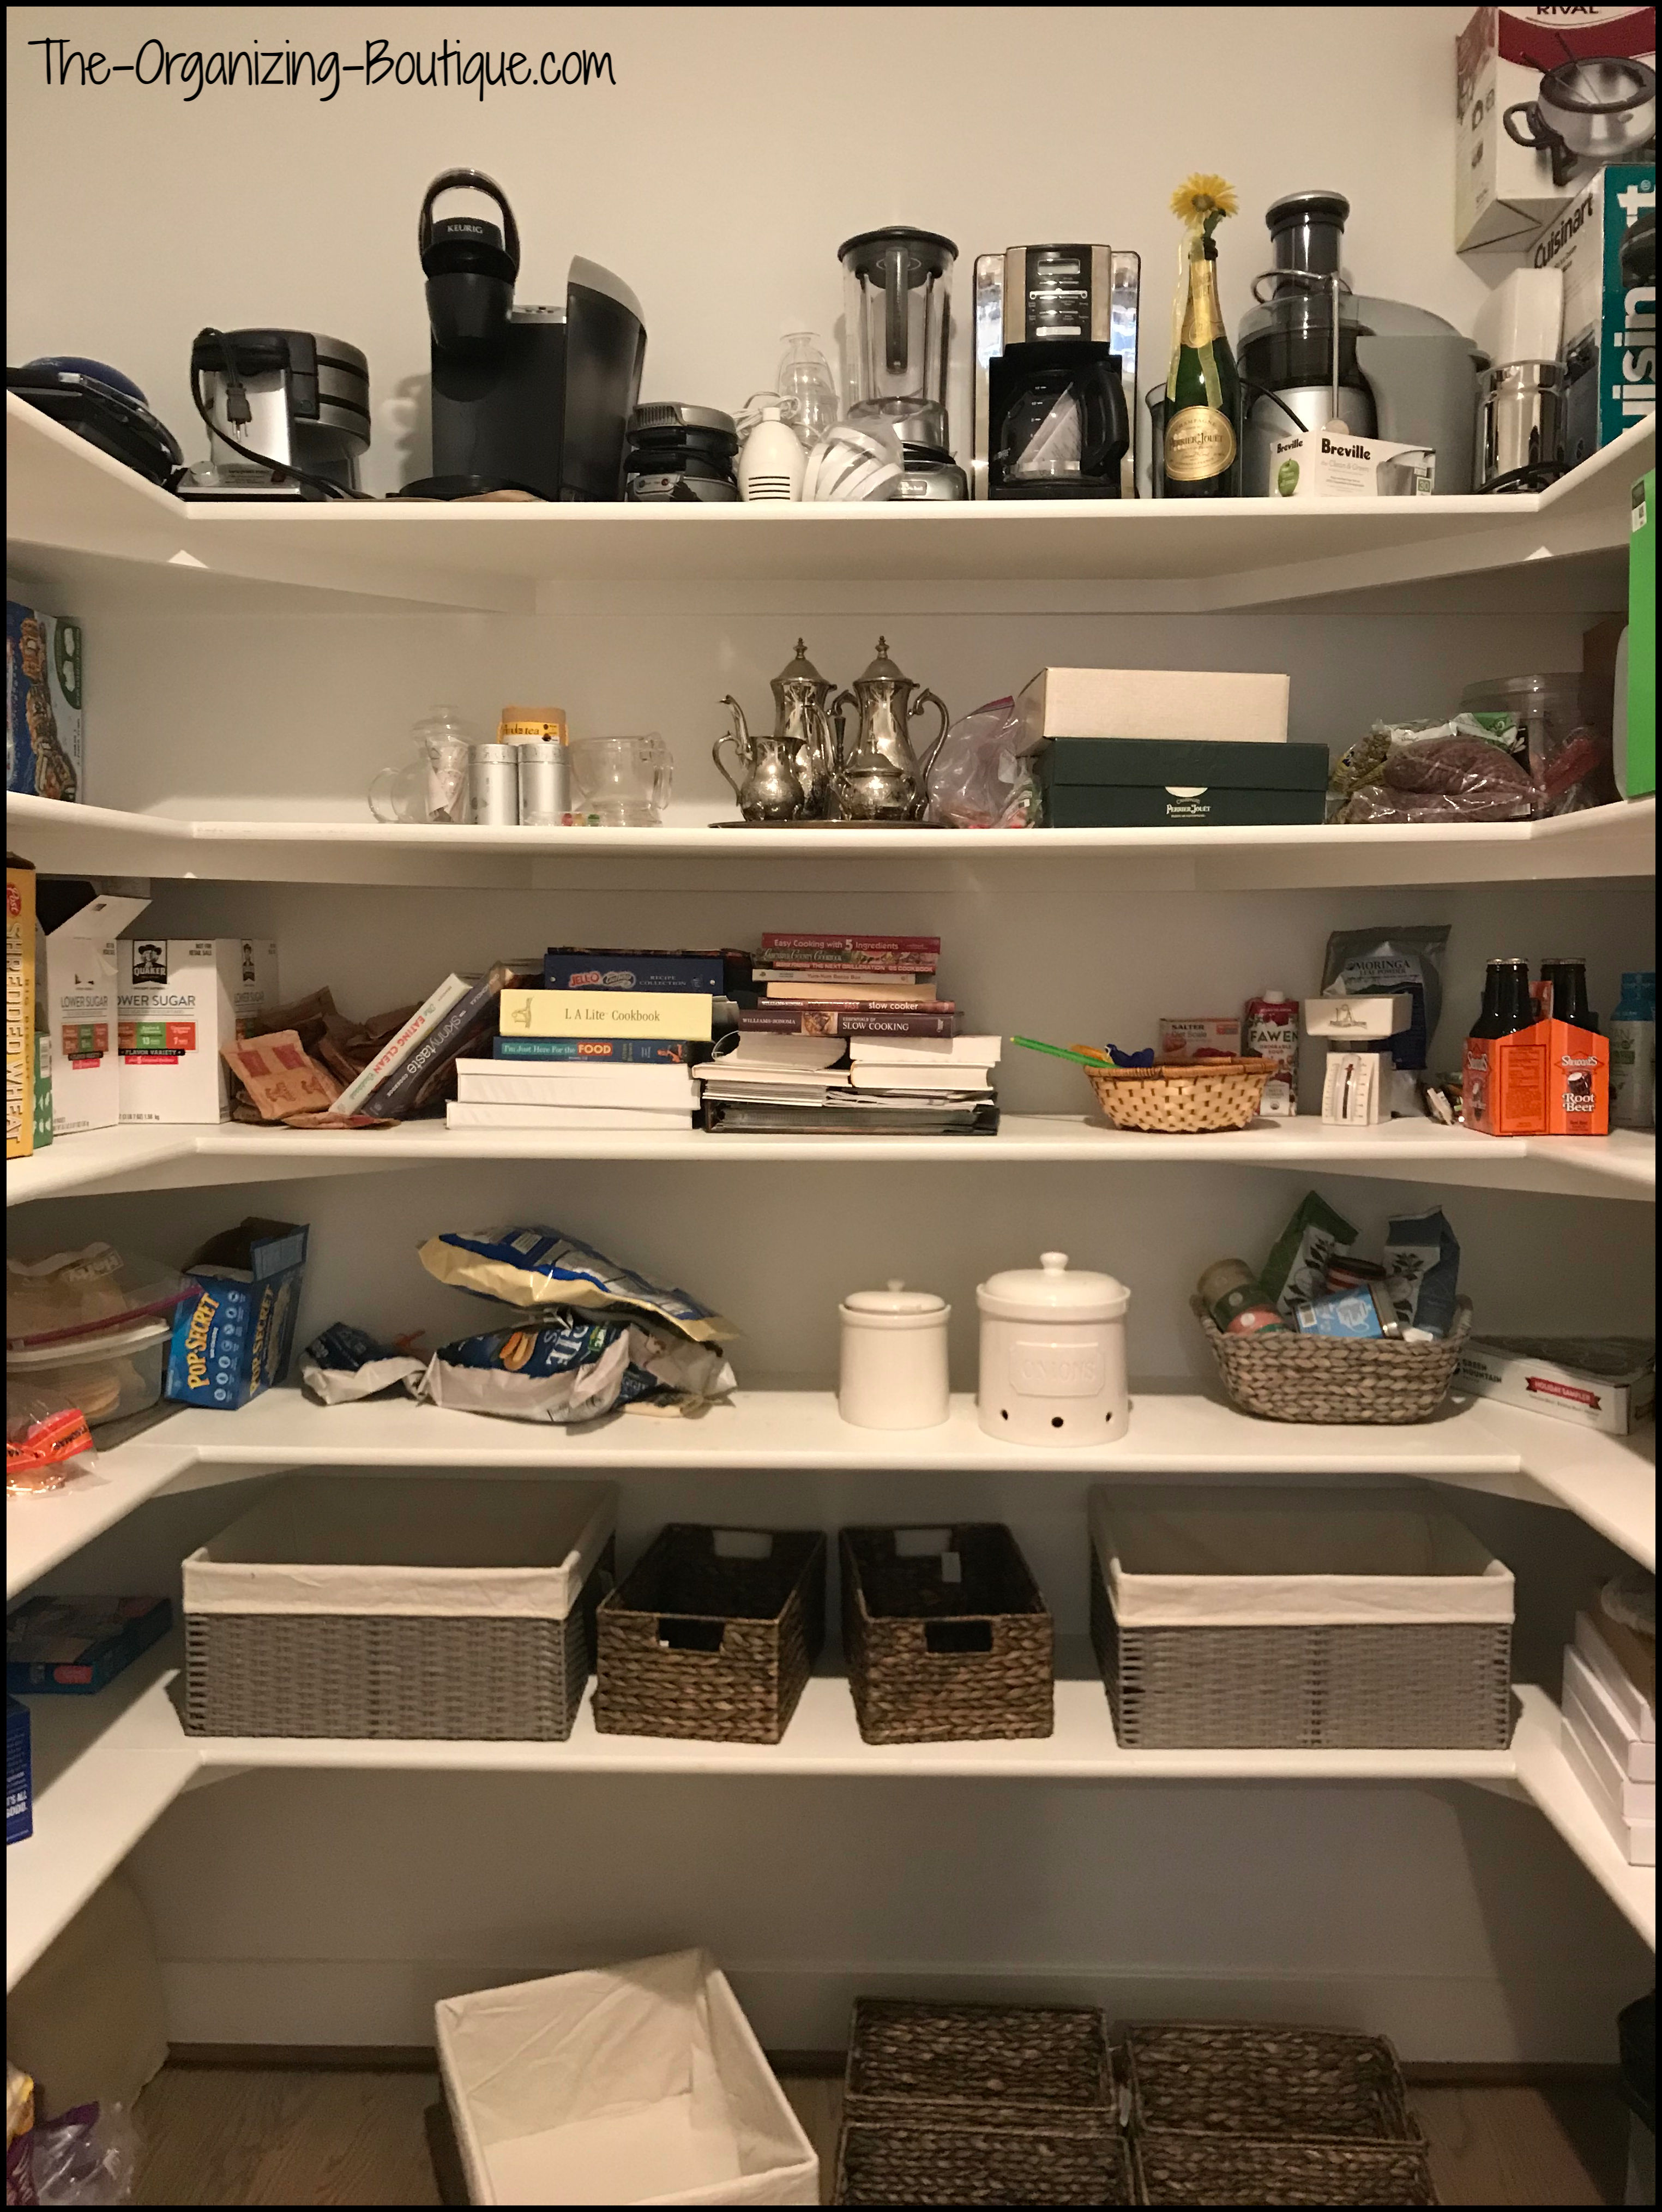
This is what my client's pantry room looked like before we got to work. While it wasn't totally overflowing (everything did have a place on the shelves and the floor was clear for the most part), my client wanted more organization and easier accessibility.
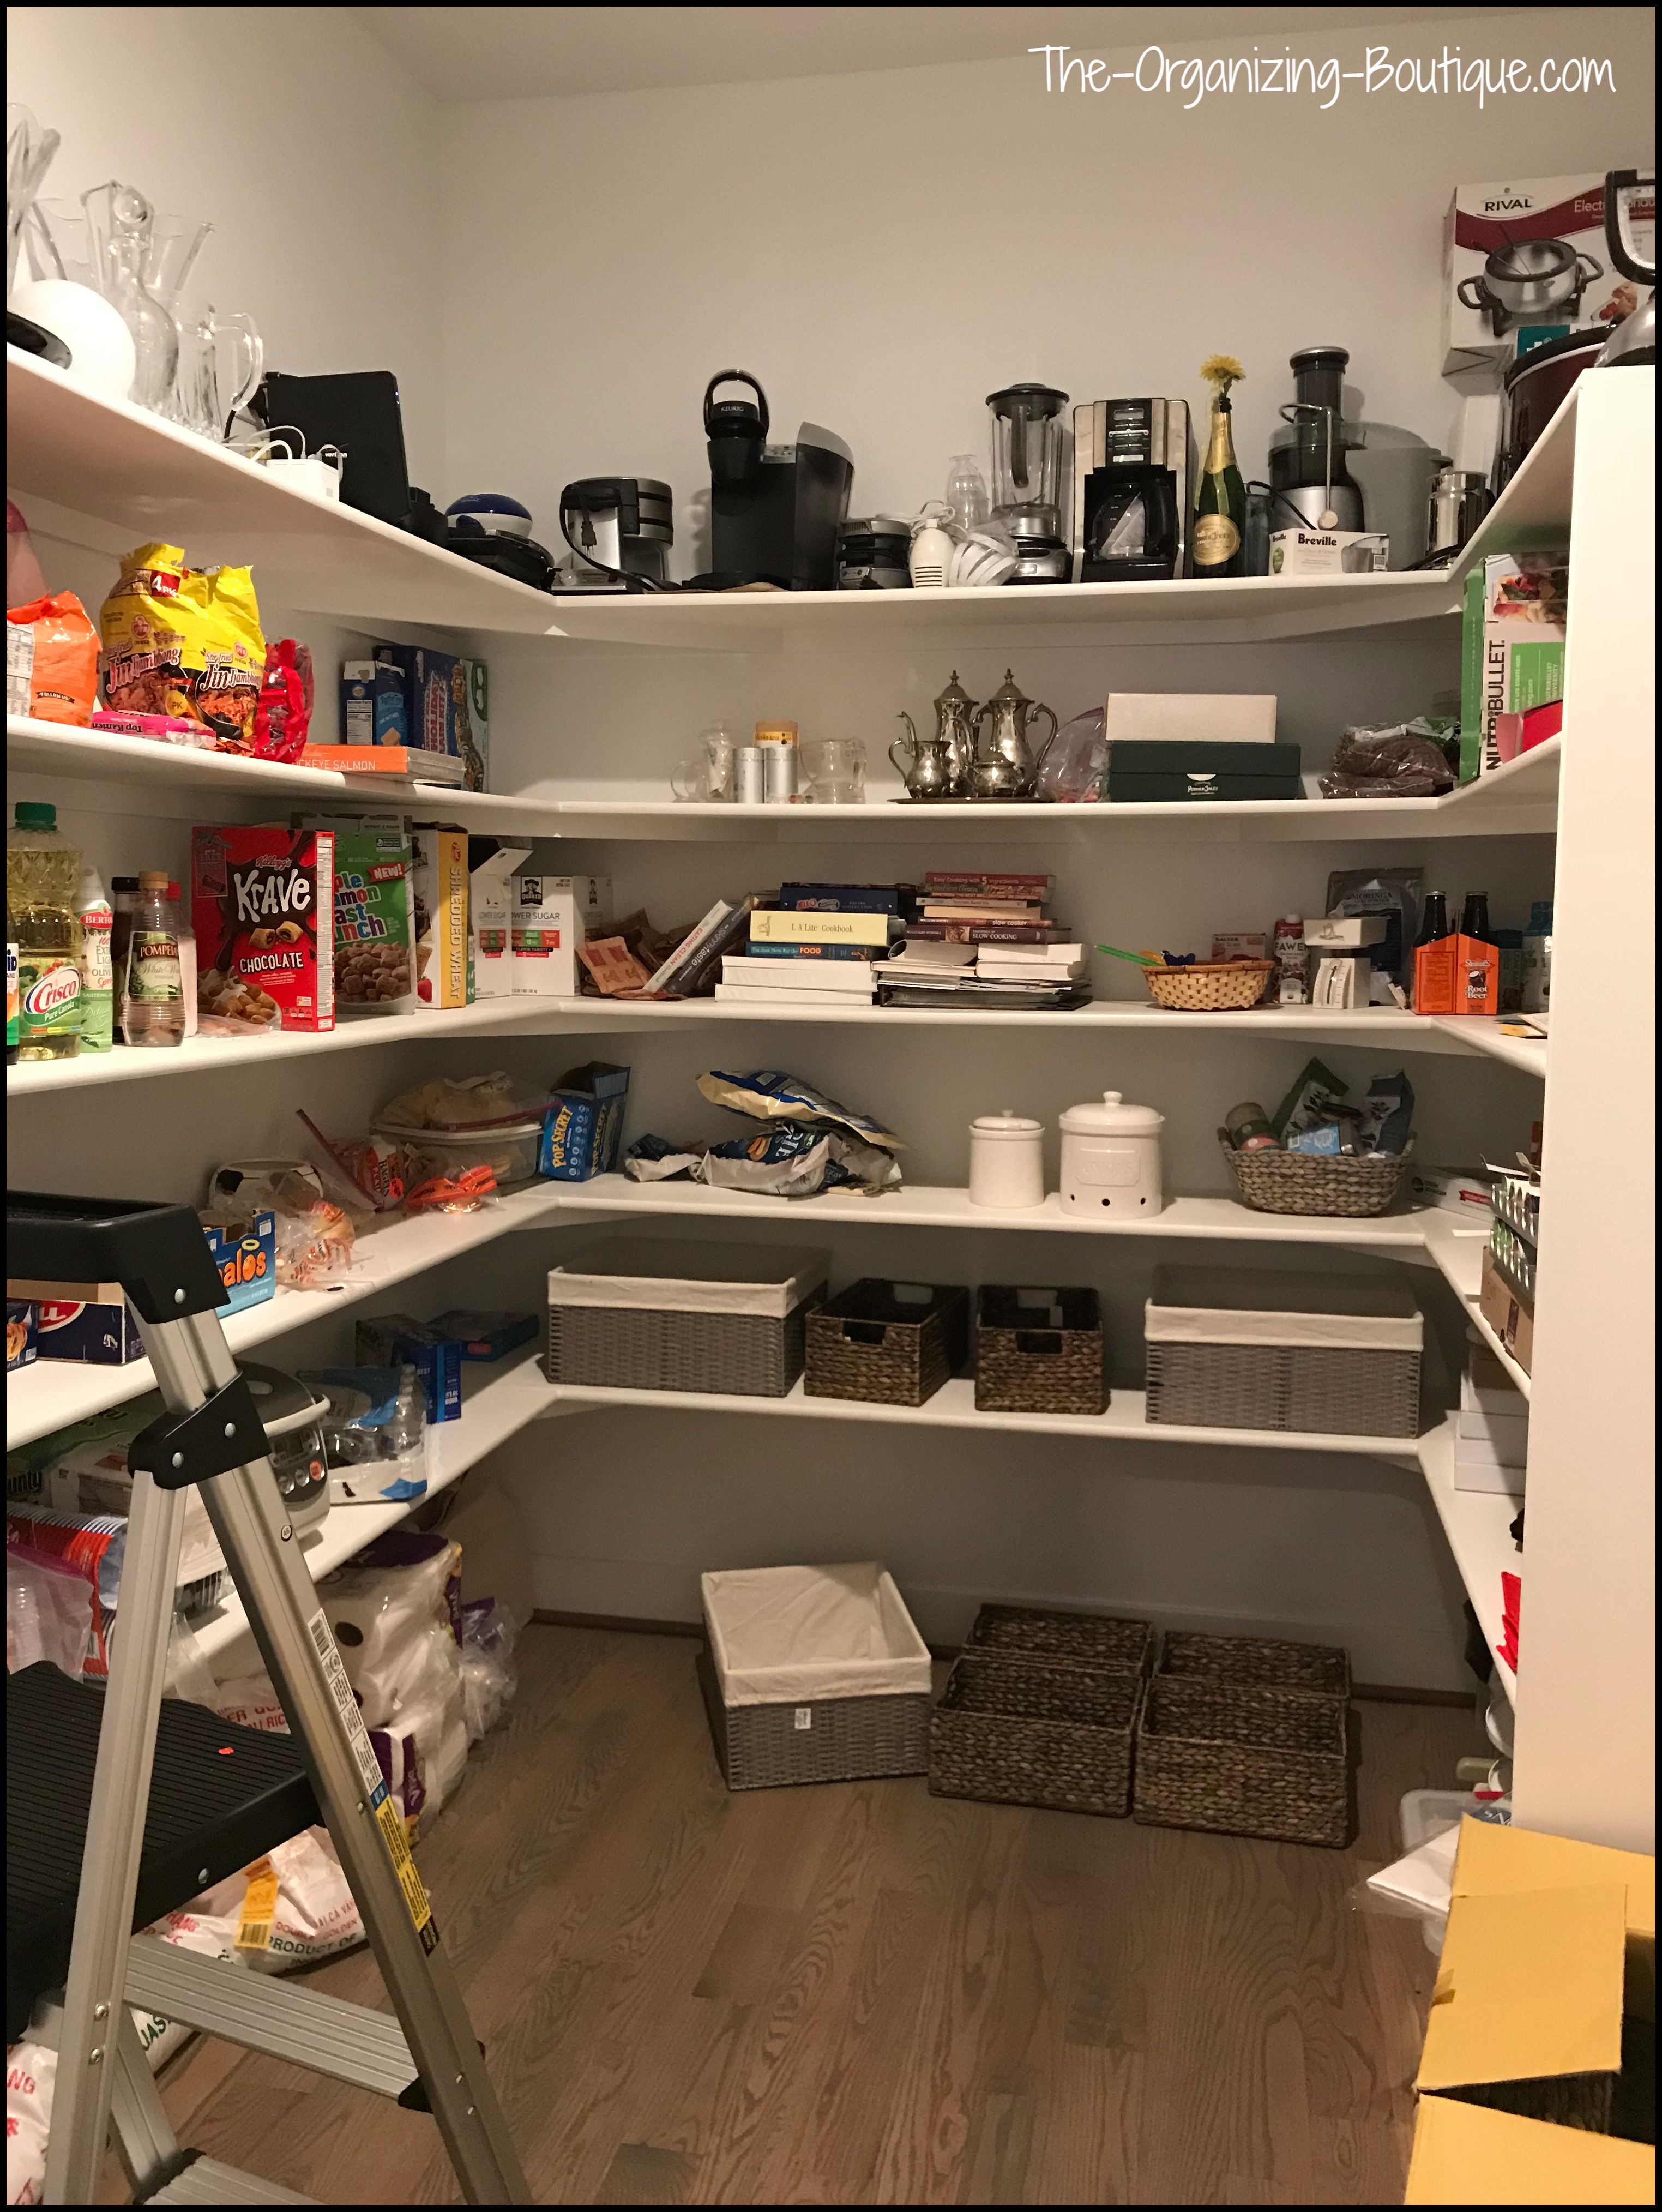
Here are some close up shots before we organized the room.
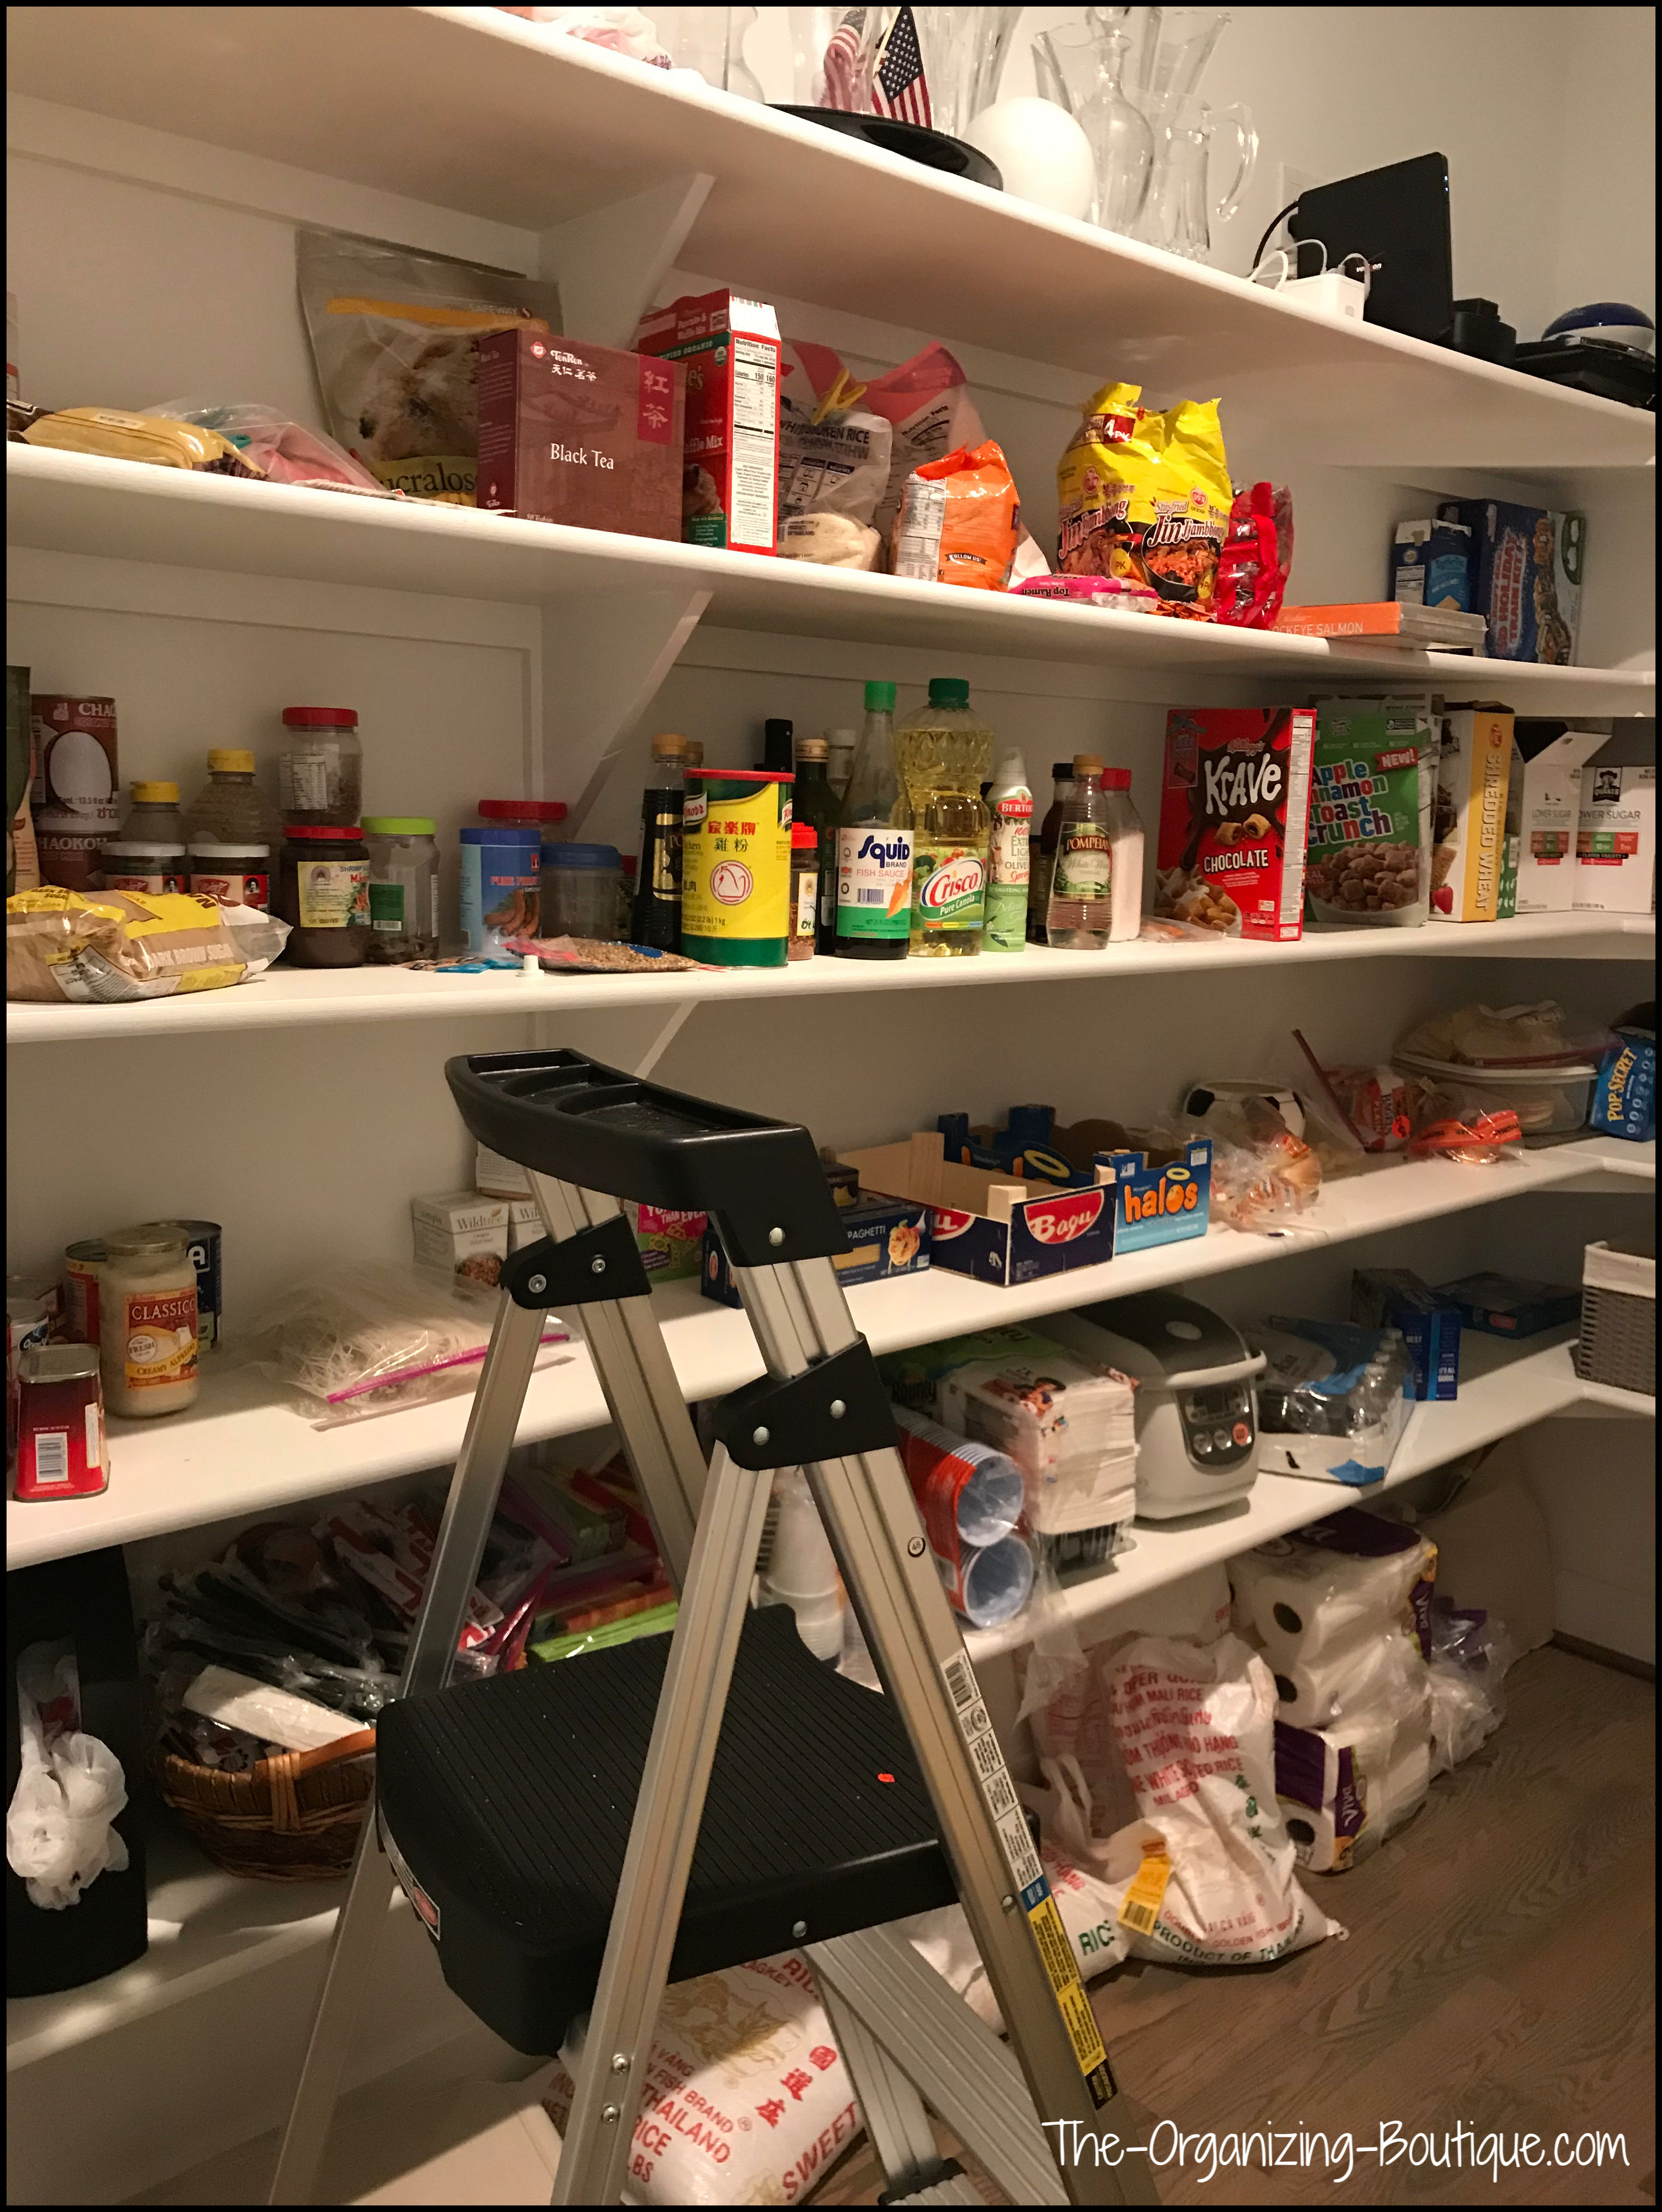
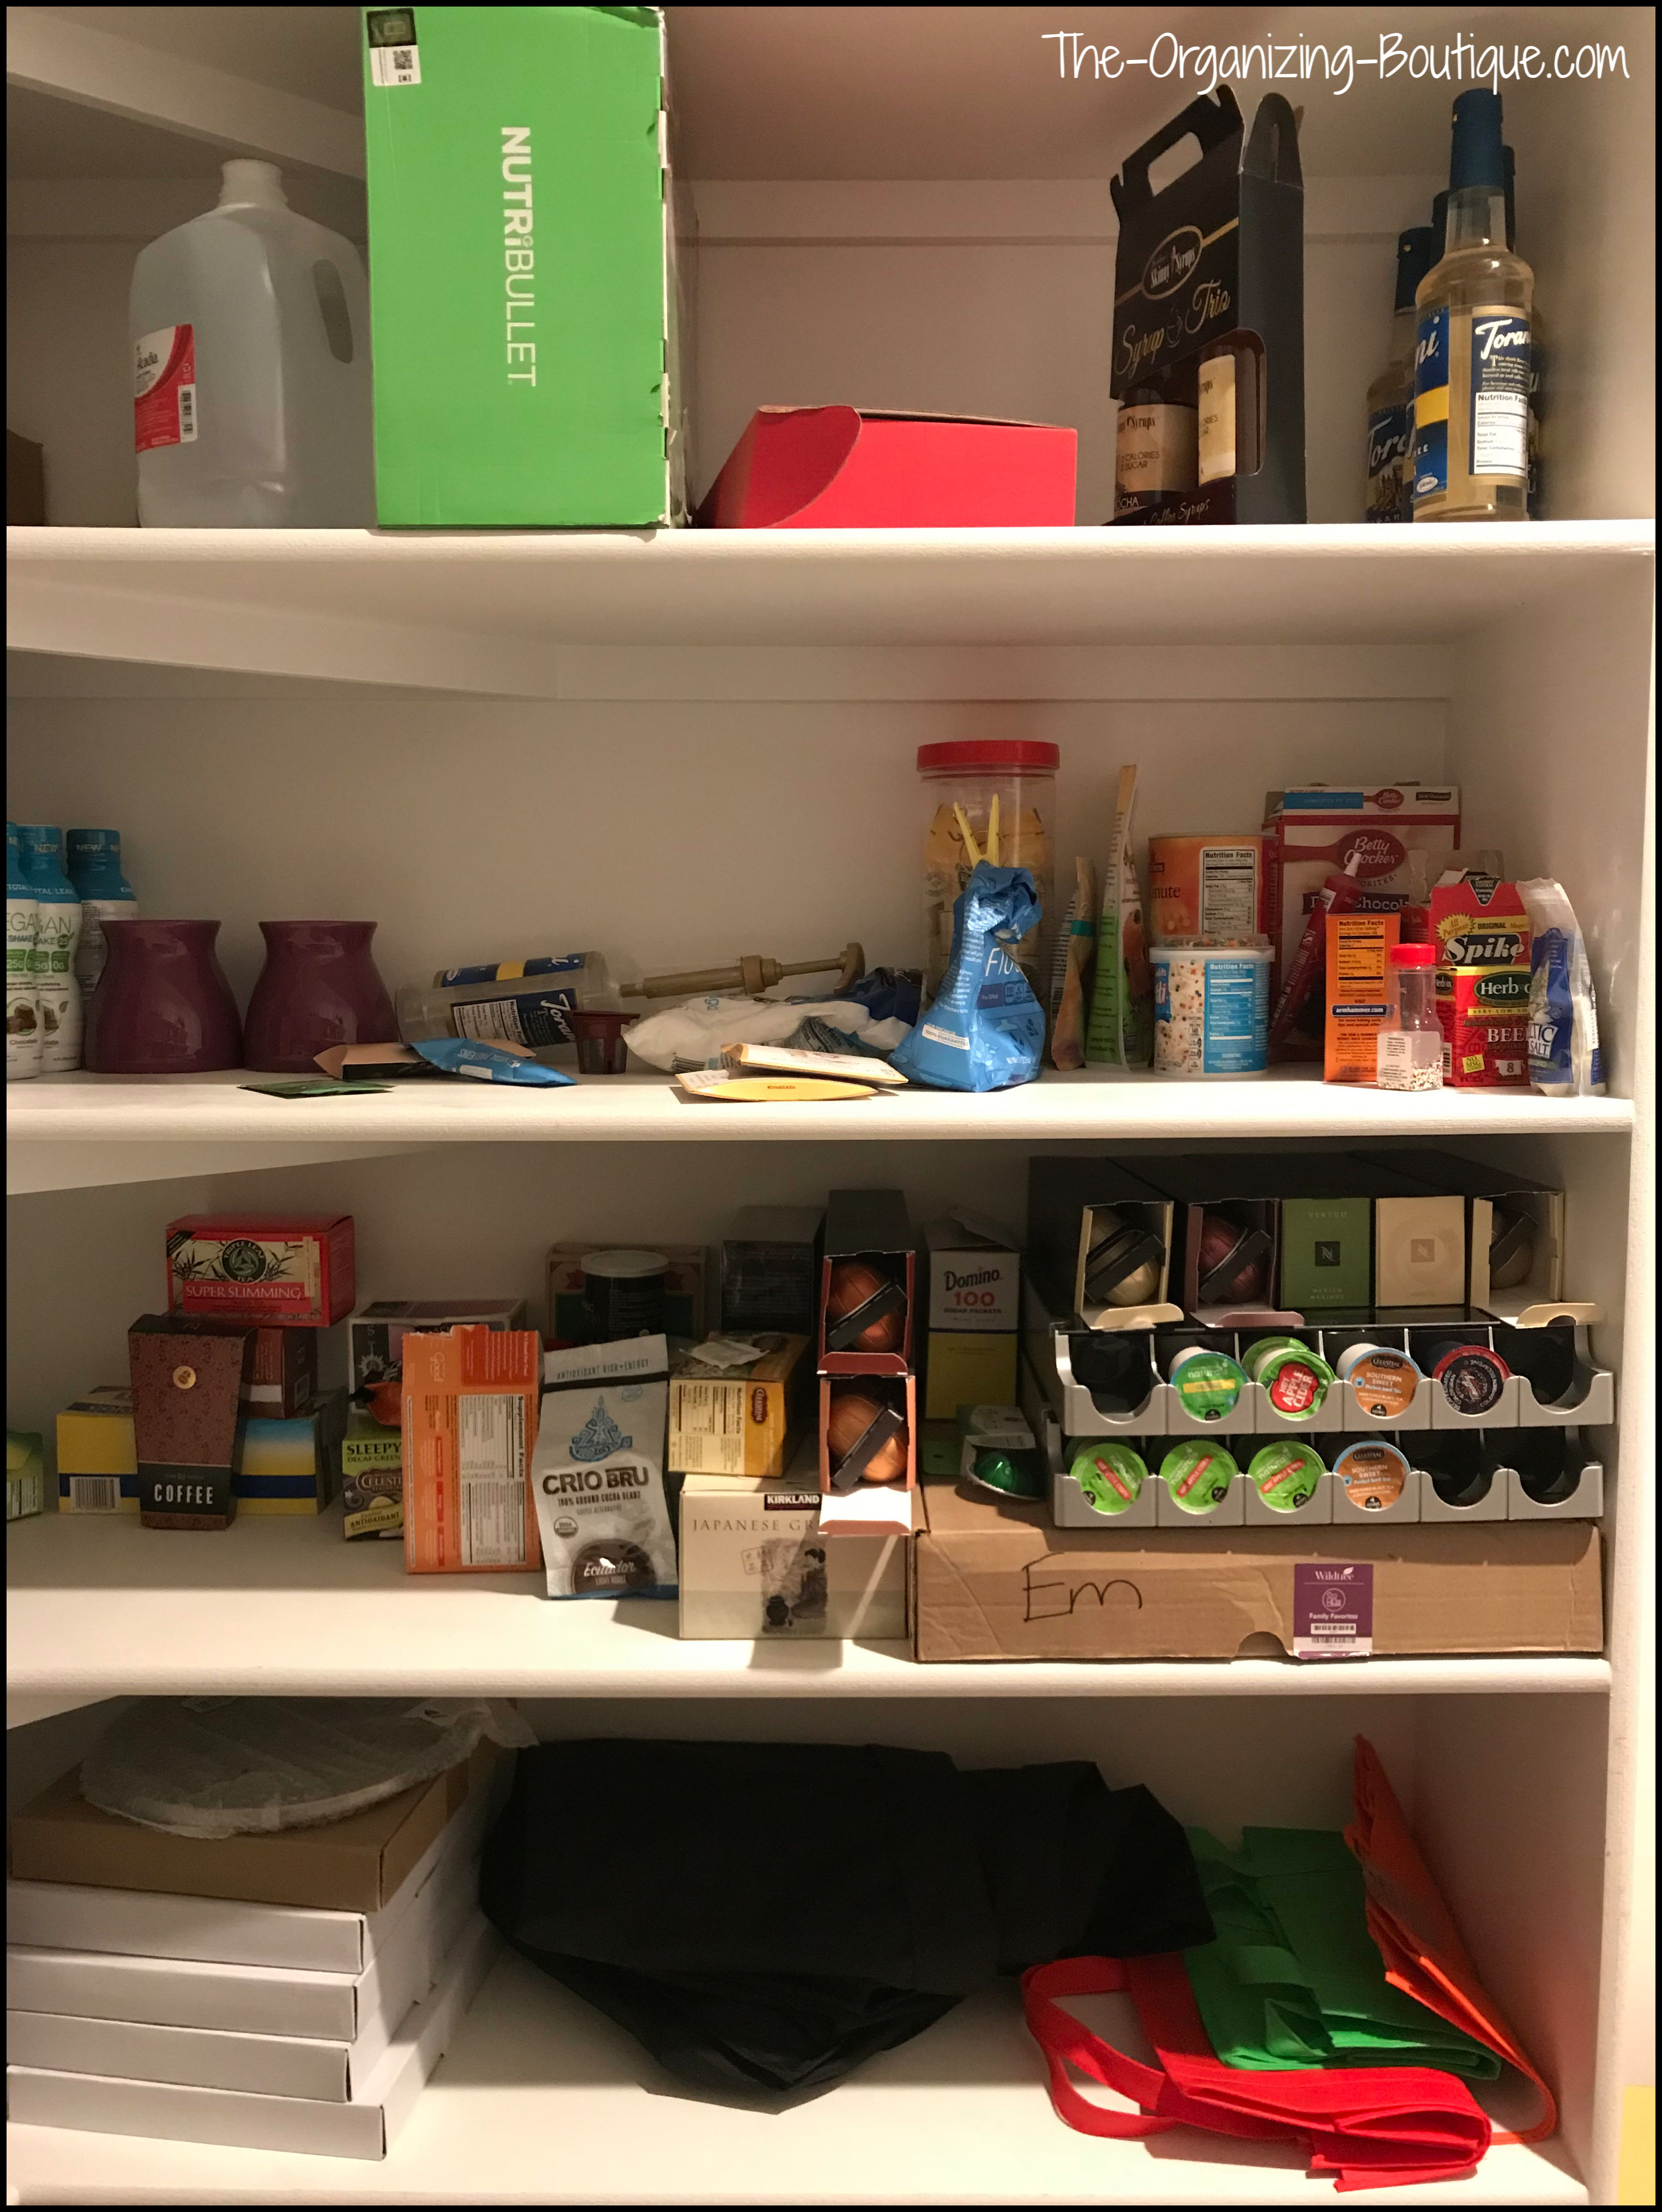
We started by taking everything out and wiping down the shelves.
Then we put clear shelf liner down (that she purchased on Amazon) and put felt pads on the bottom of all the baskets (also from Amazon).
Next, we threw out all of the food that was expired and sorted what was left into categories. Each category was then given a designated bin, basket or turntable (keep reading for links to the products we used).
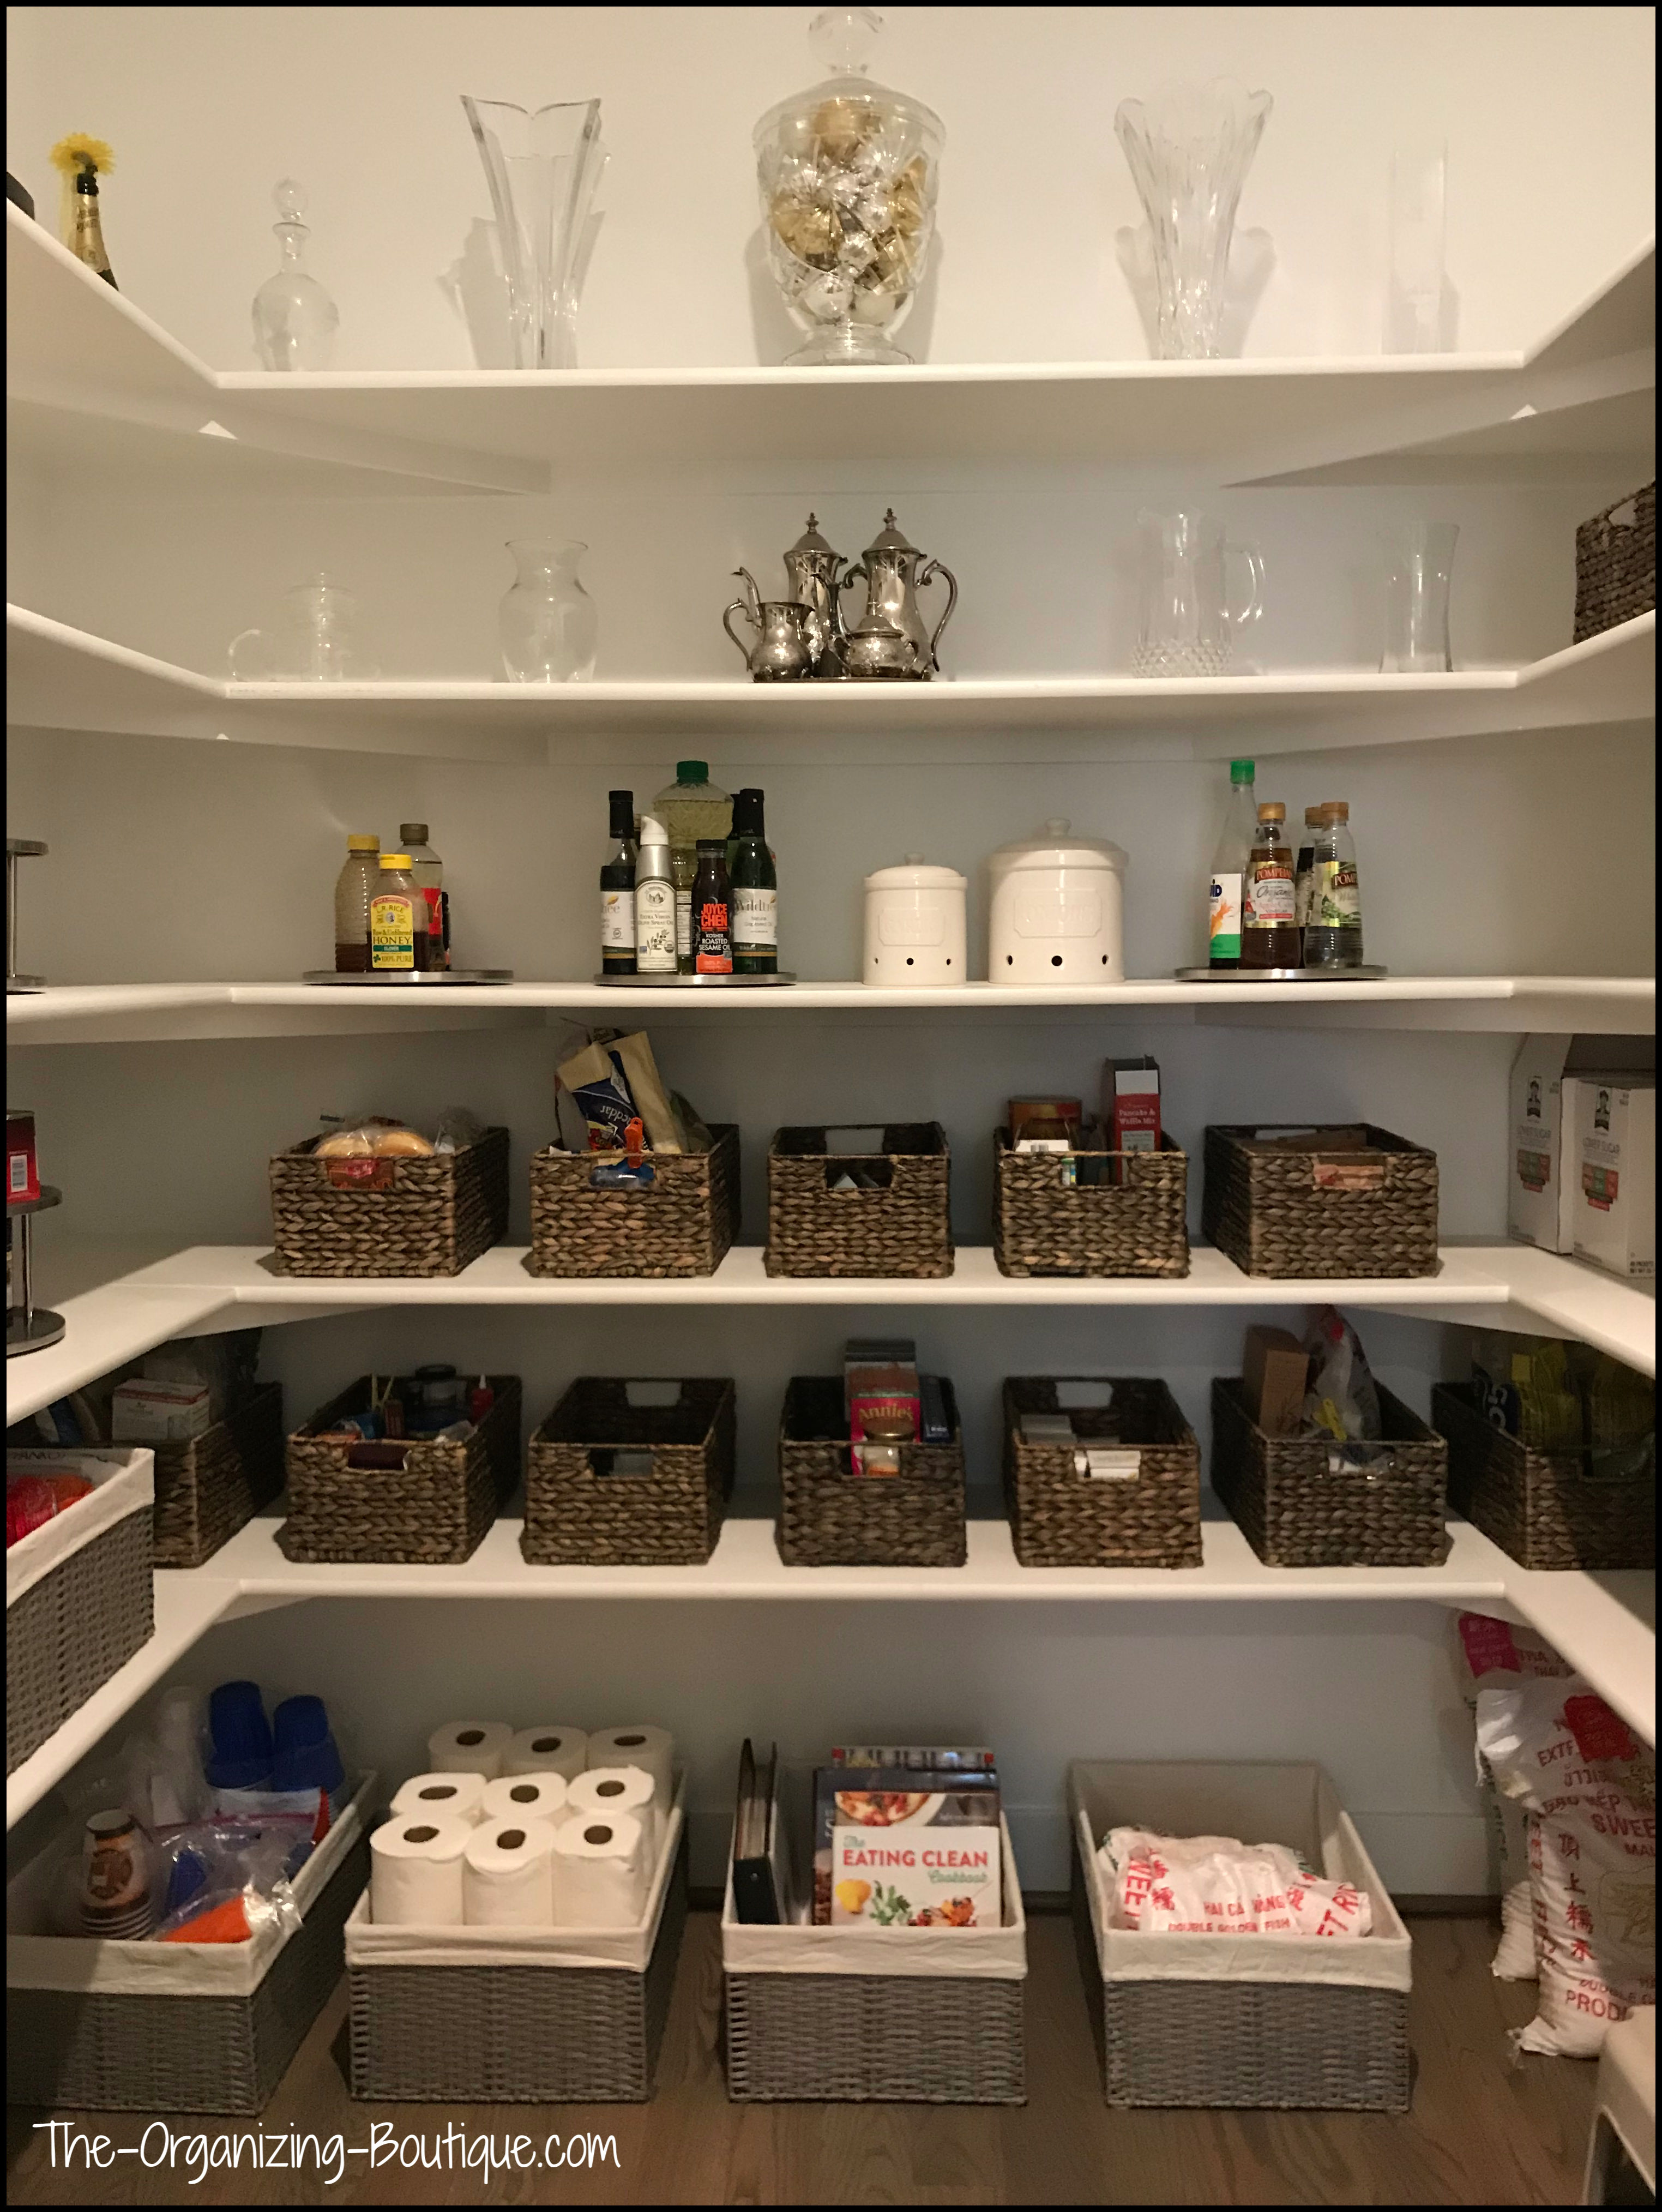
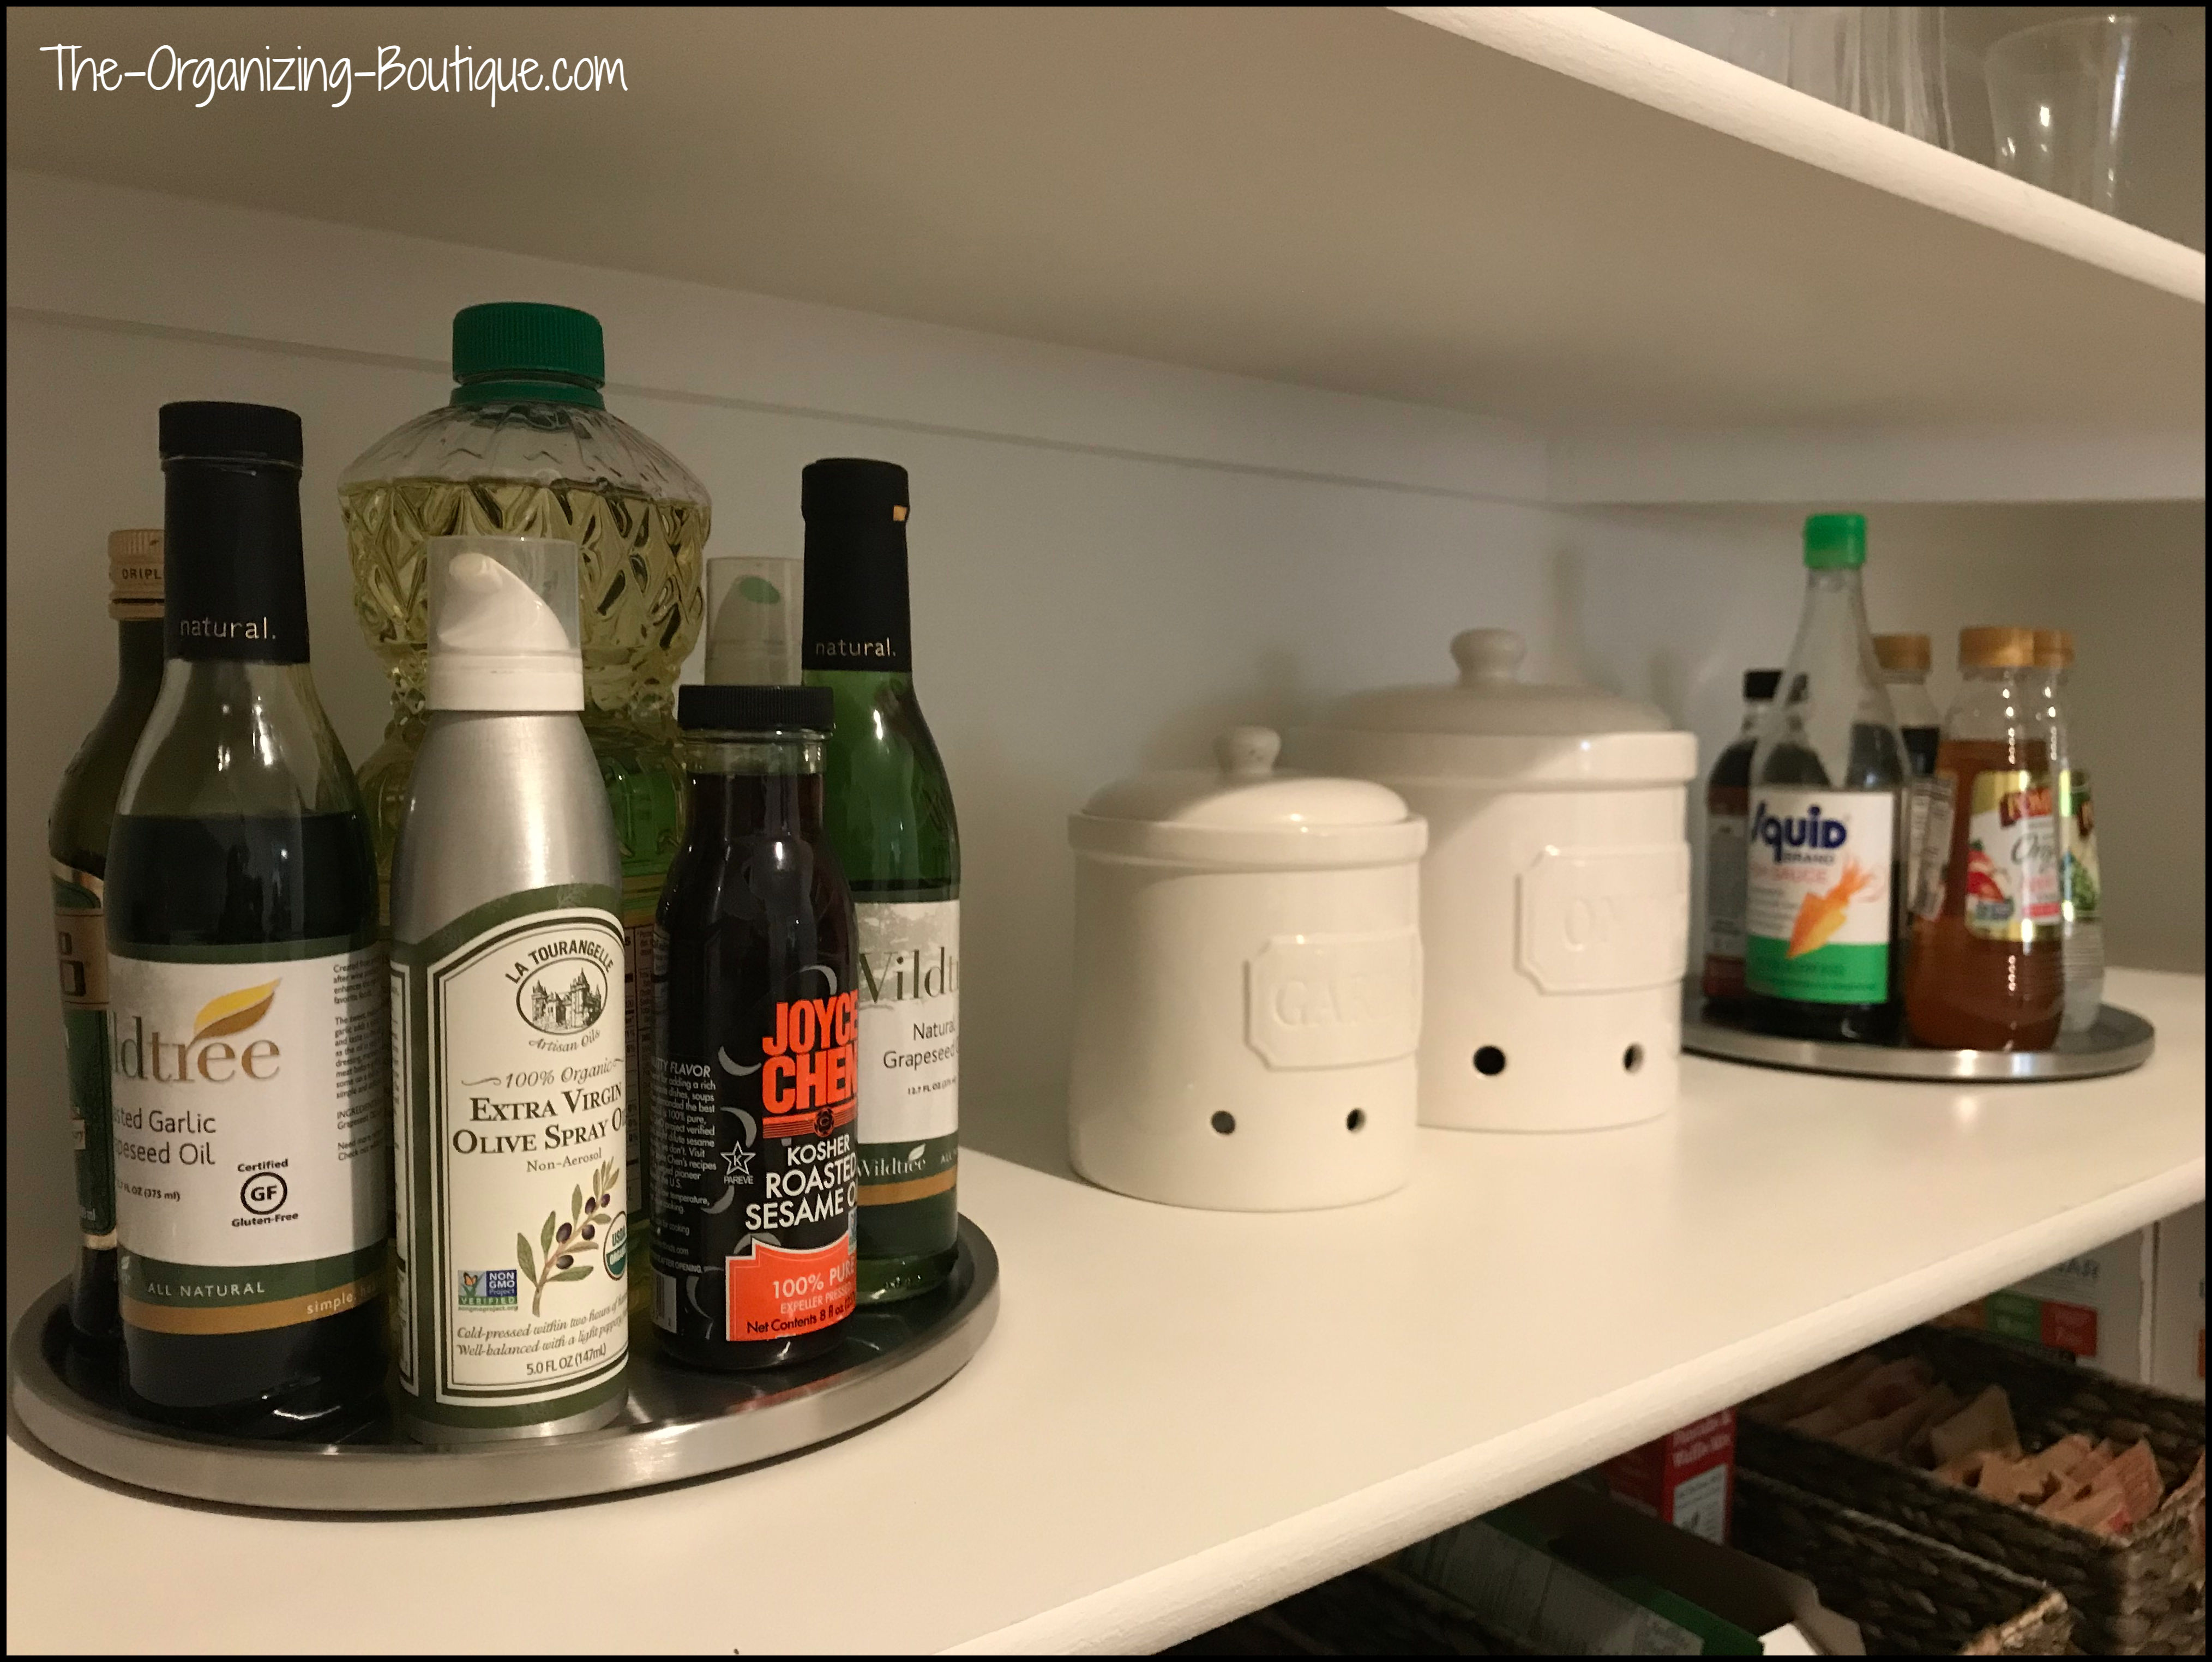
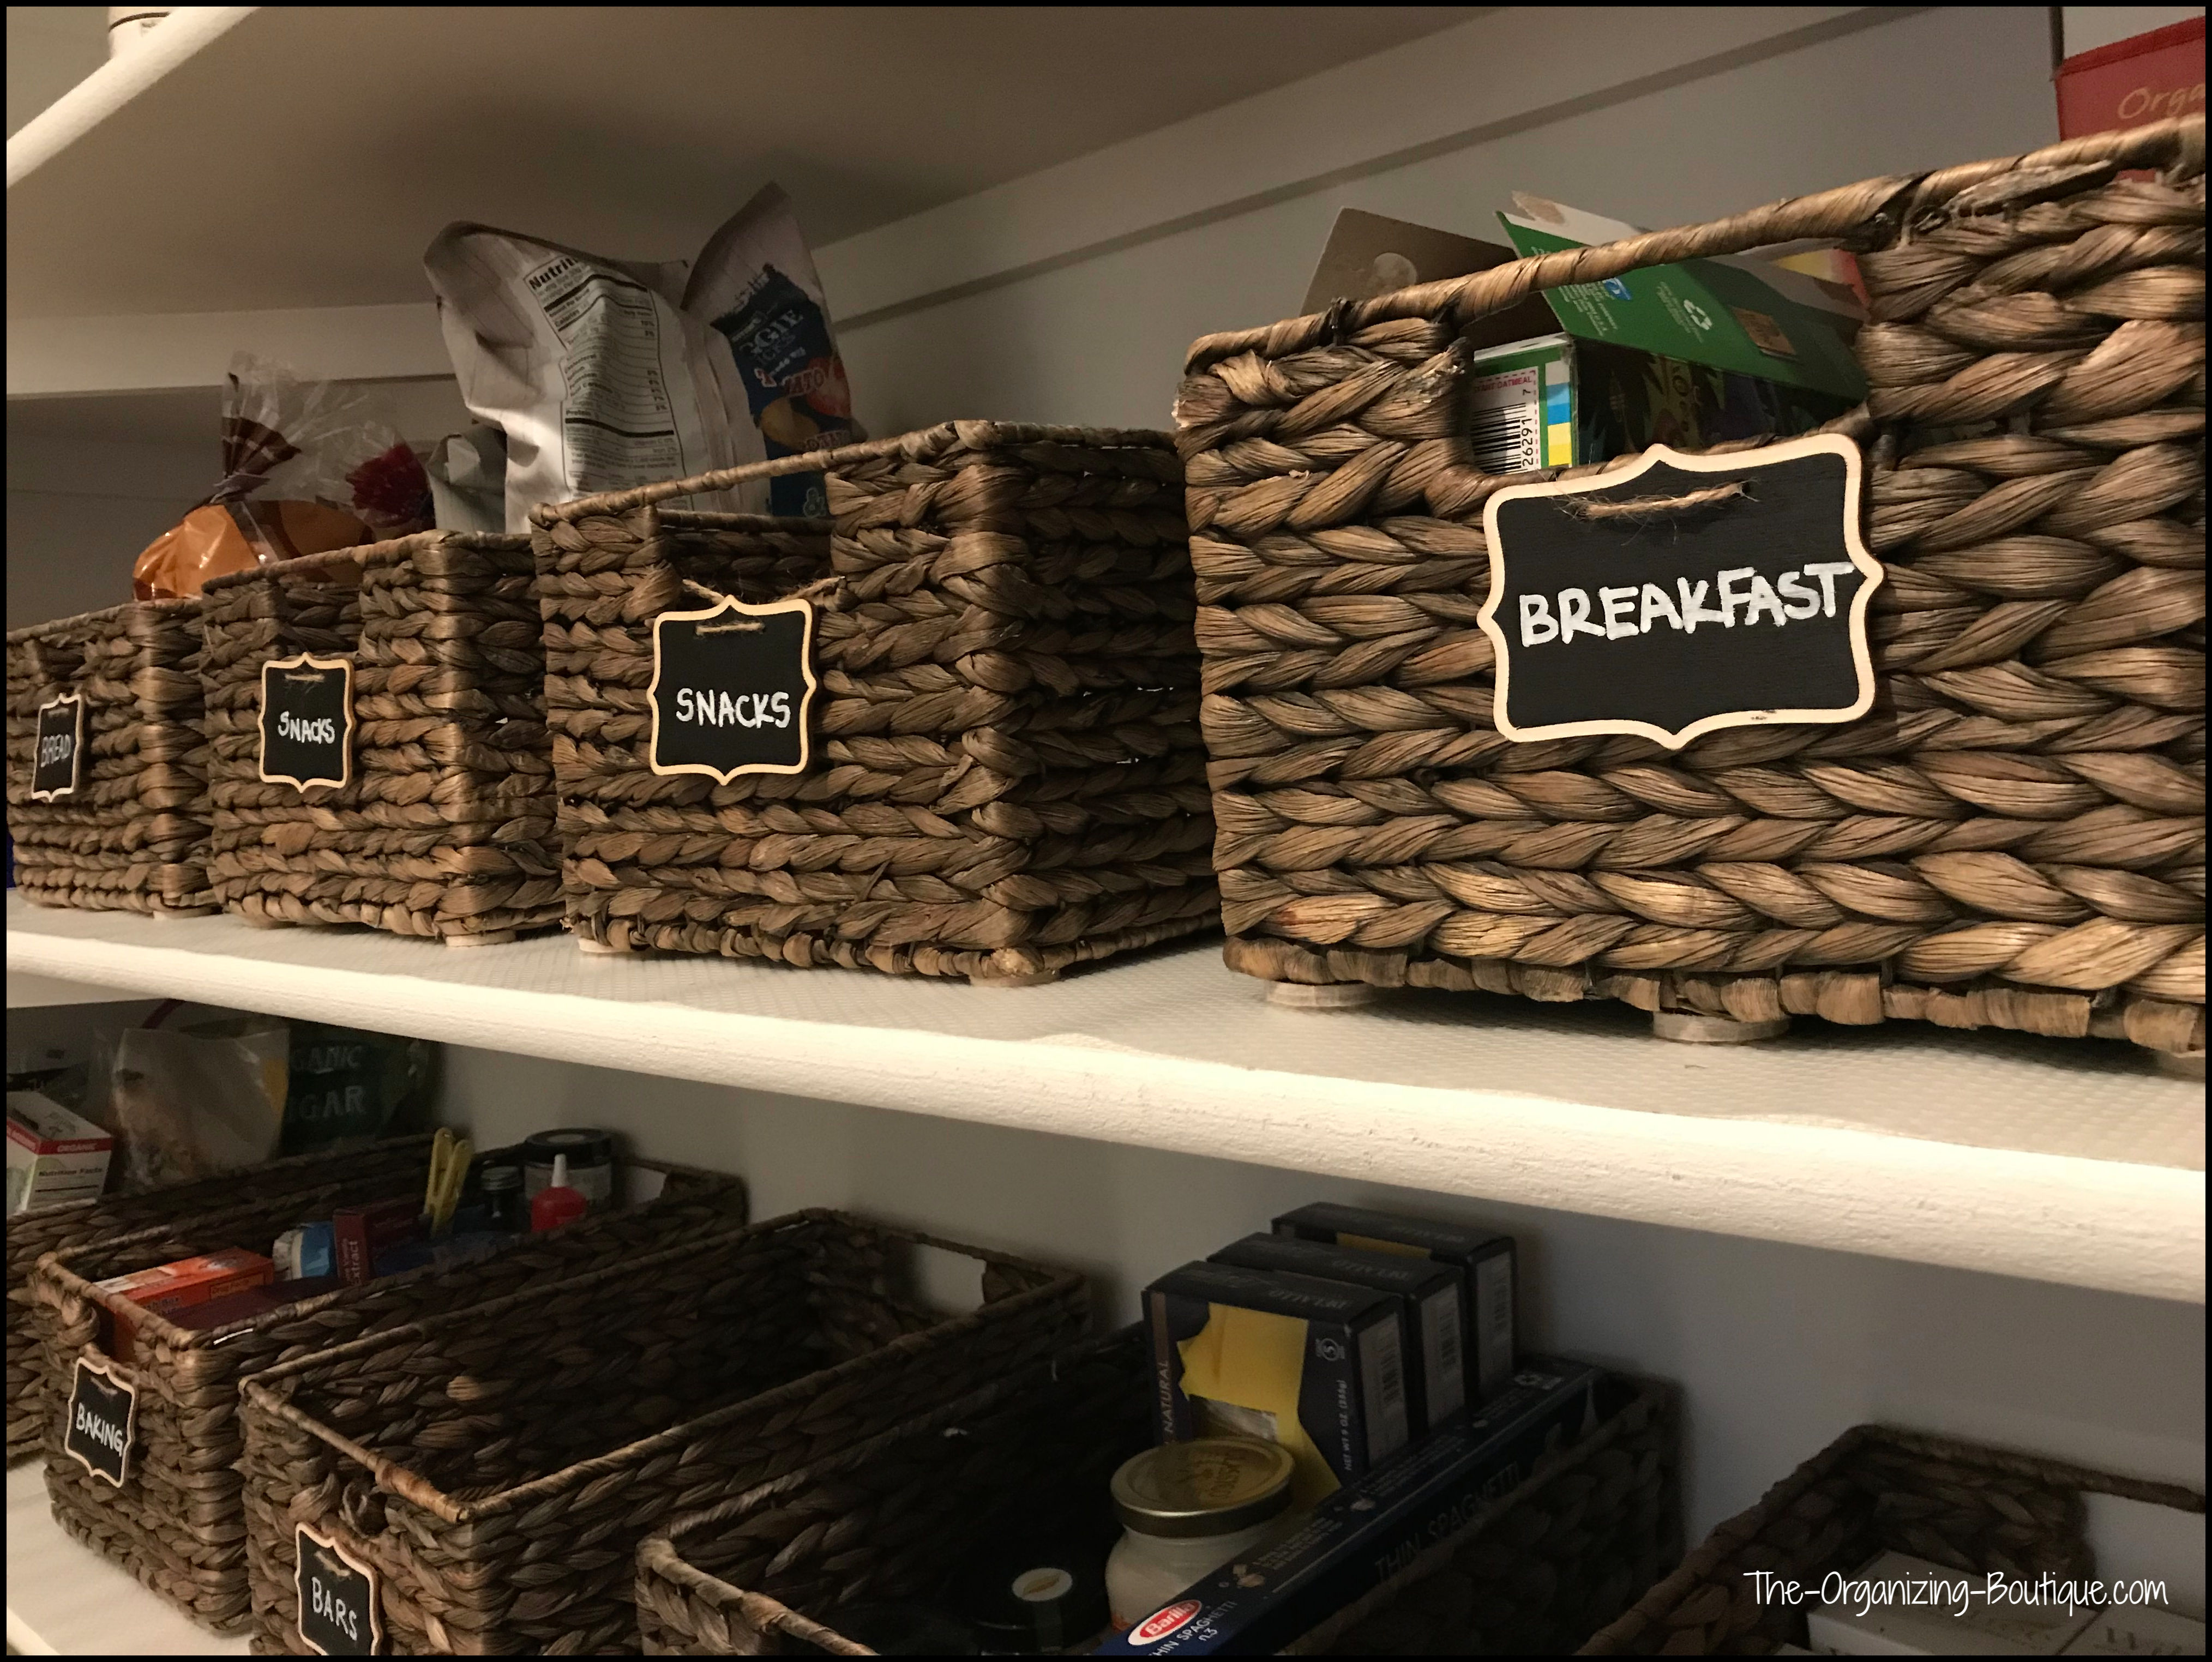
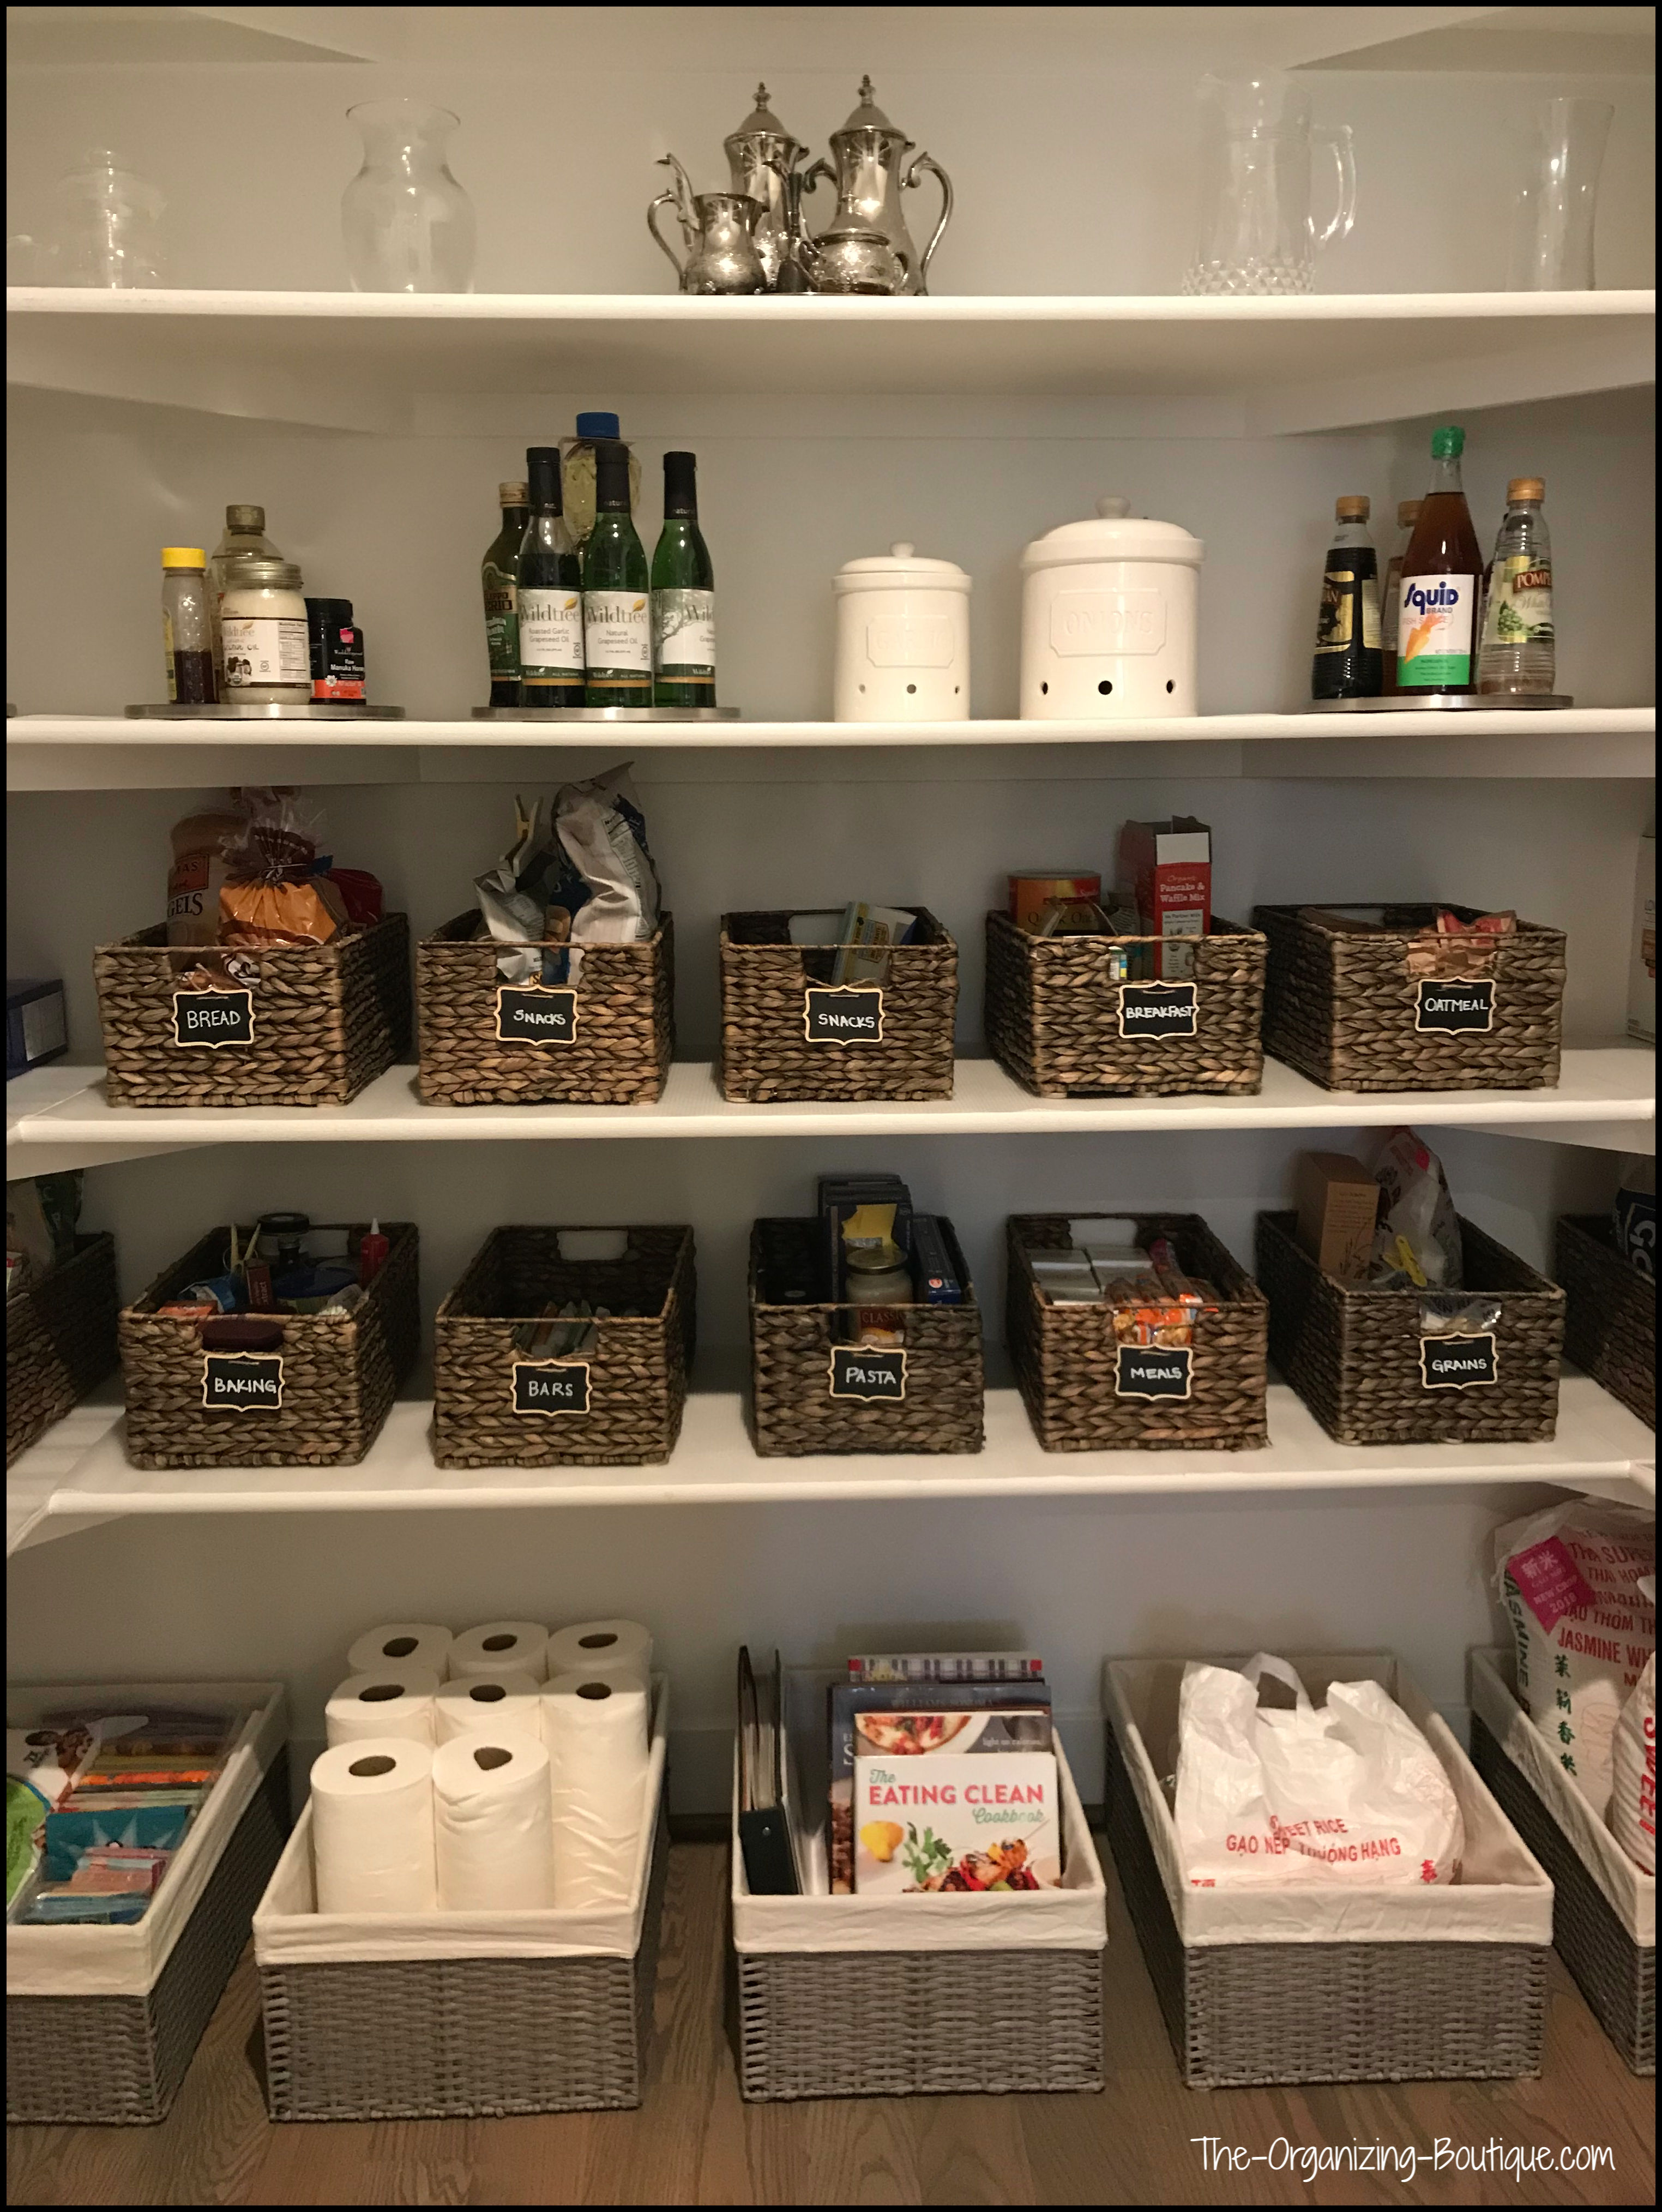
The pantry room was divided up into sections - food, drinks, appliances and paper/plastic goods. This is the new and improved food section.

The brown baskets we used are from The Container Store. They're beautiful, durable and accessible.

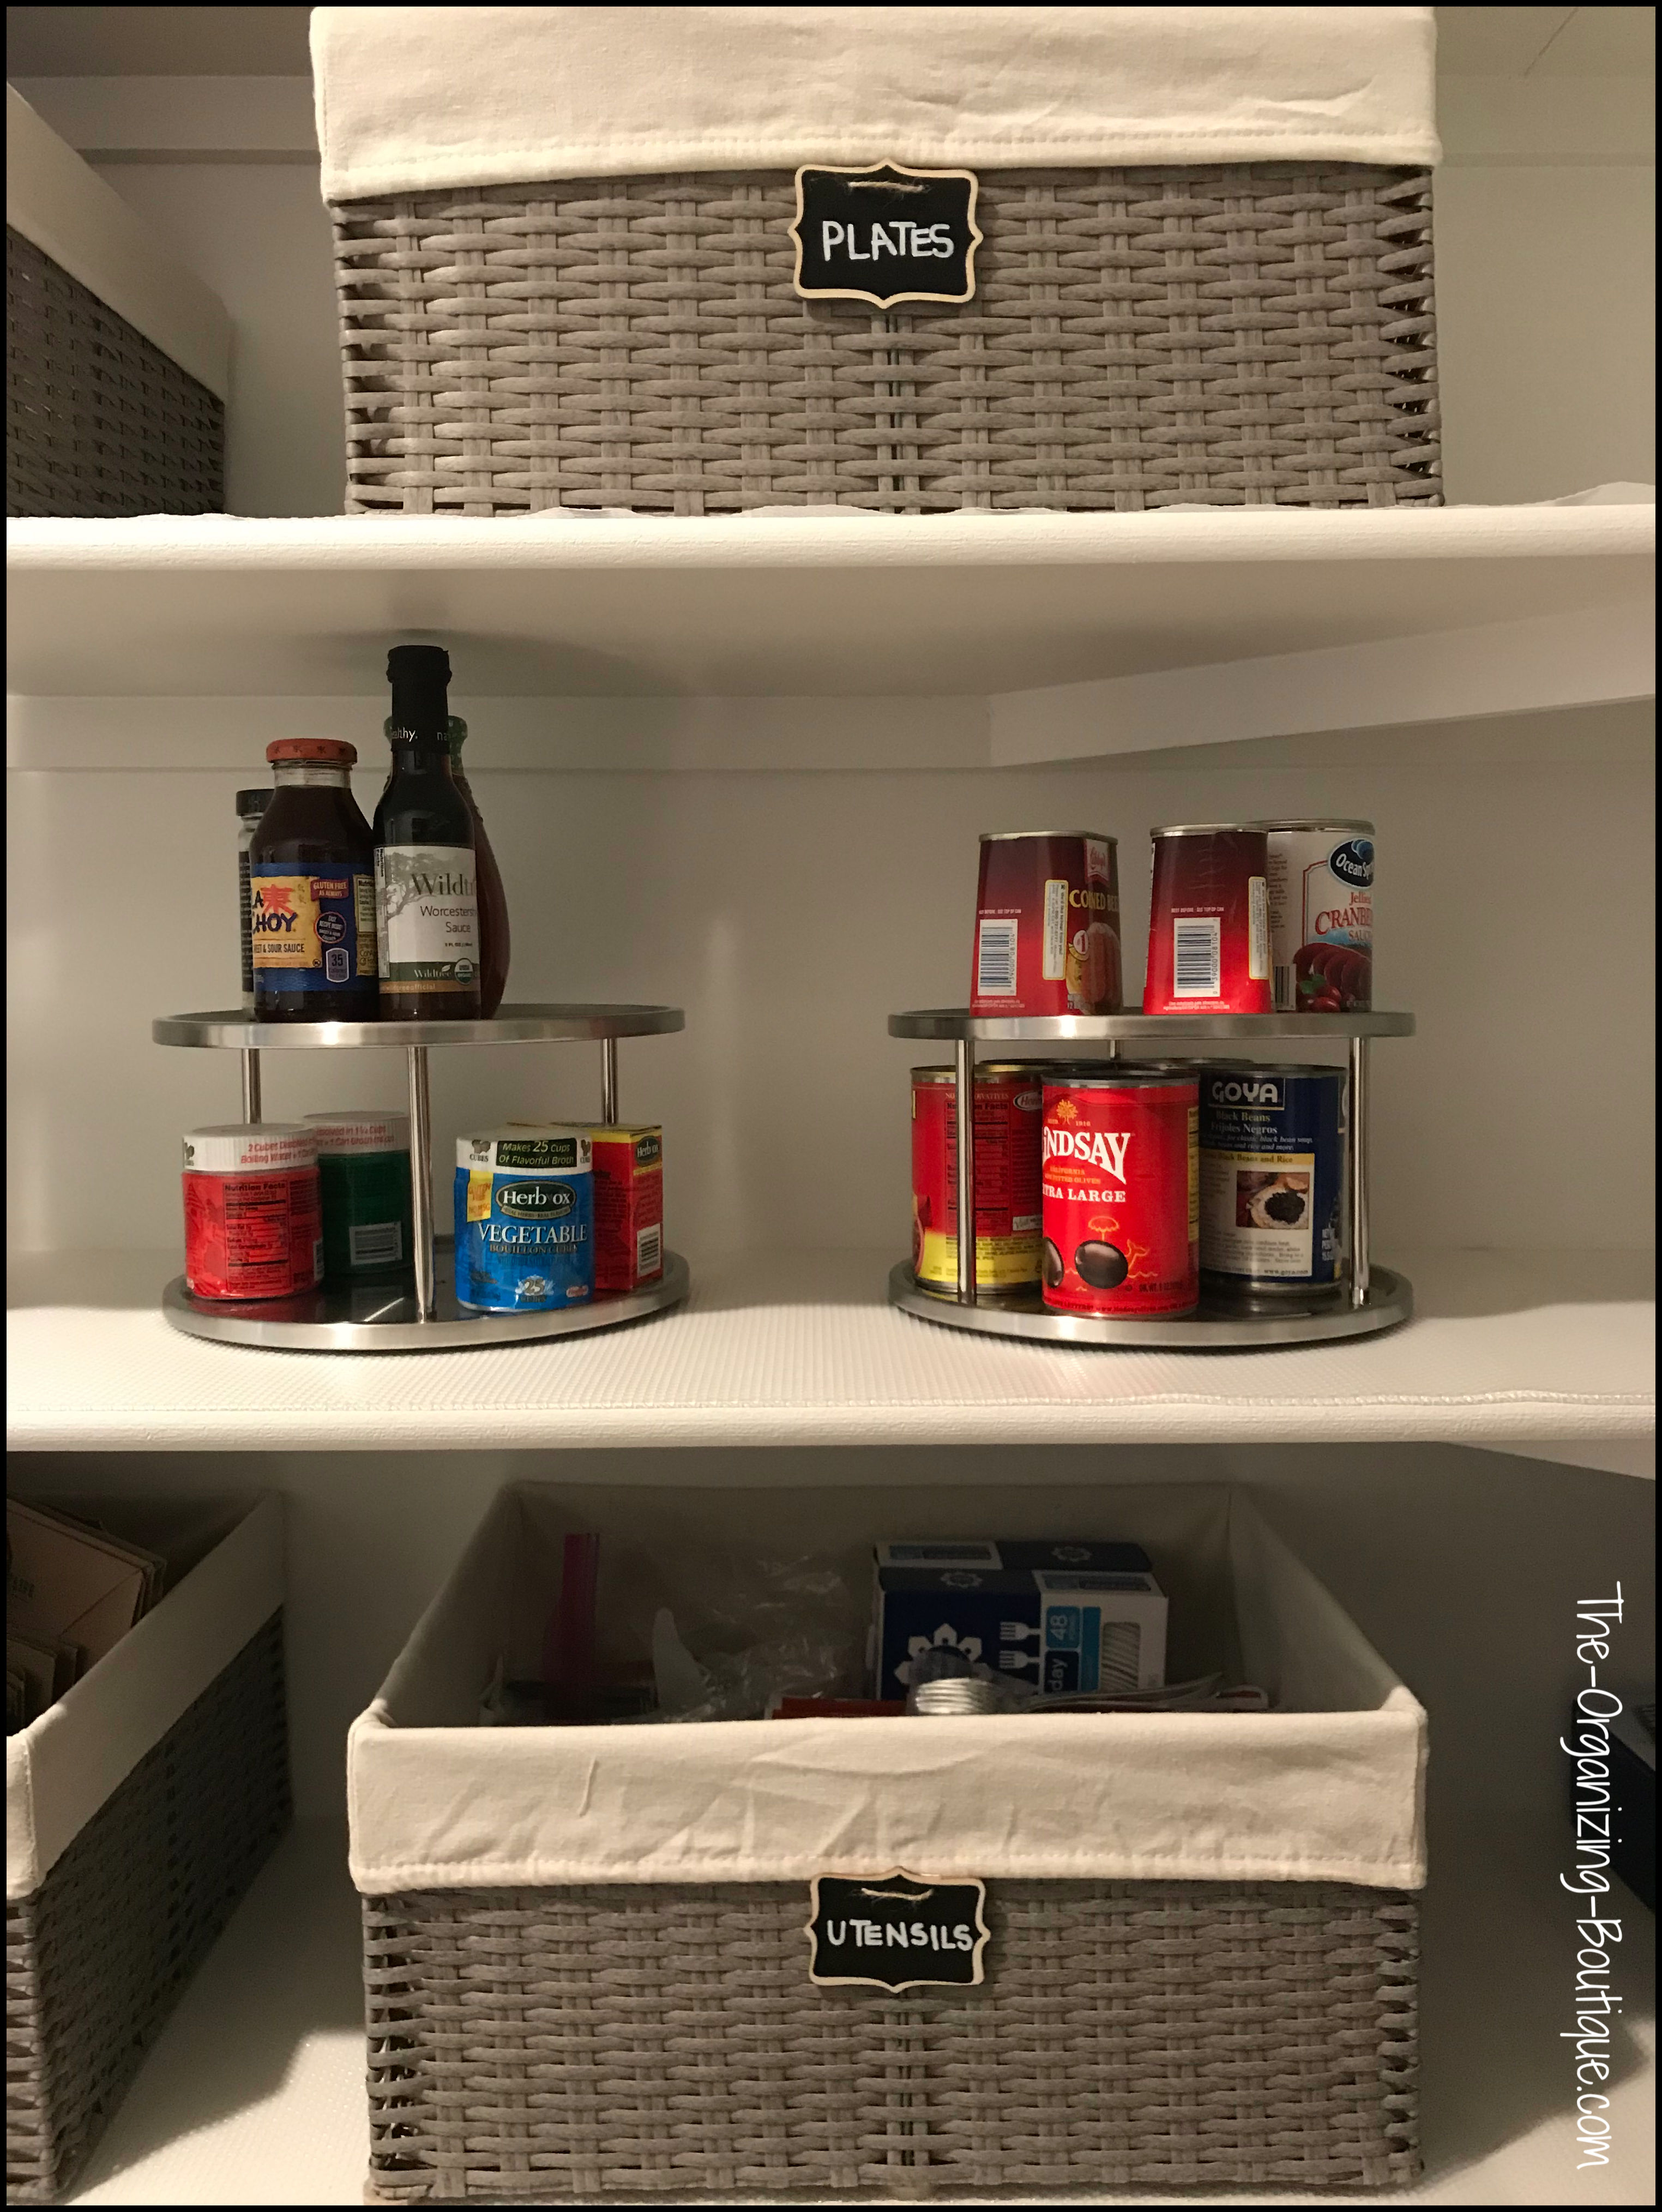
The single and double stainless steel turntables can be found at The Container Store and also on Amazon.
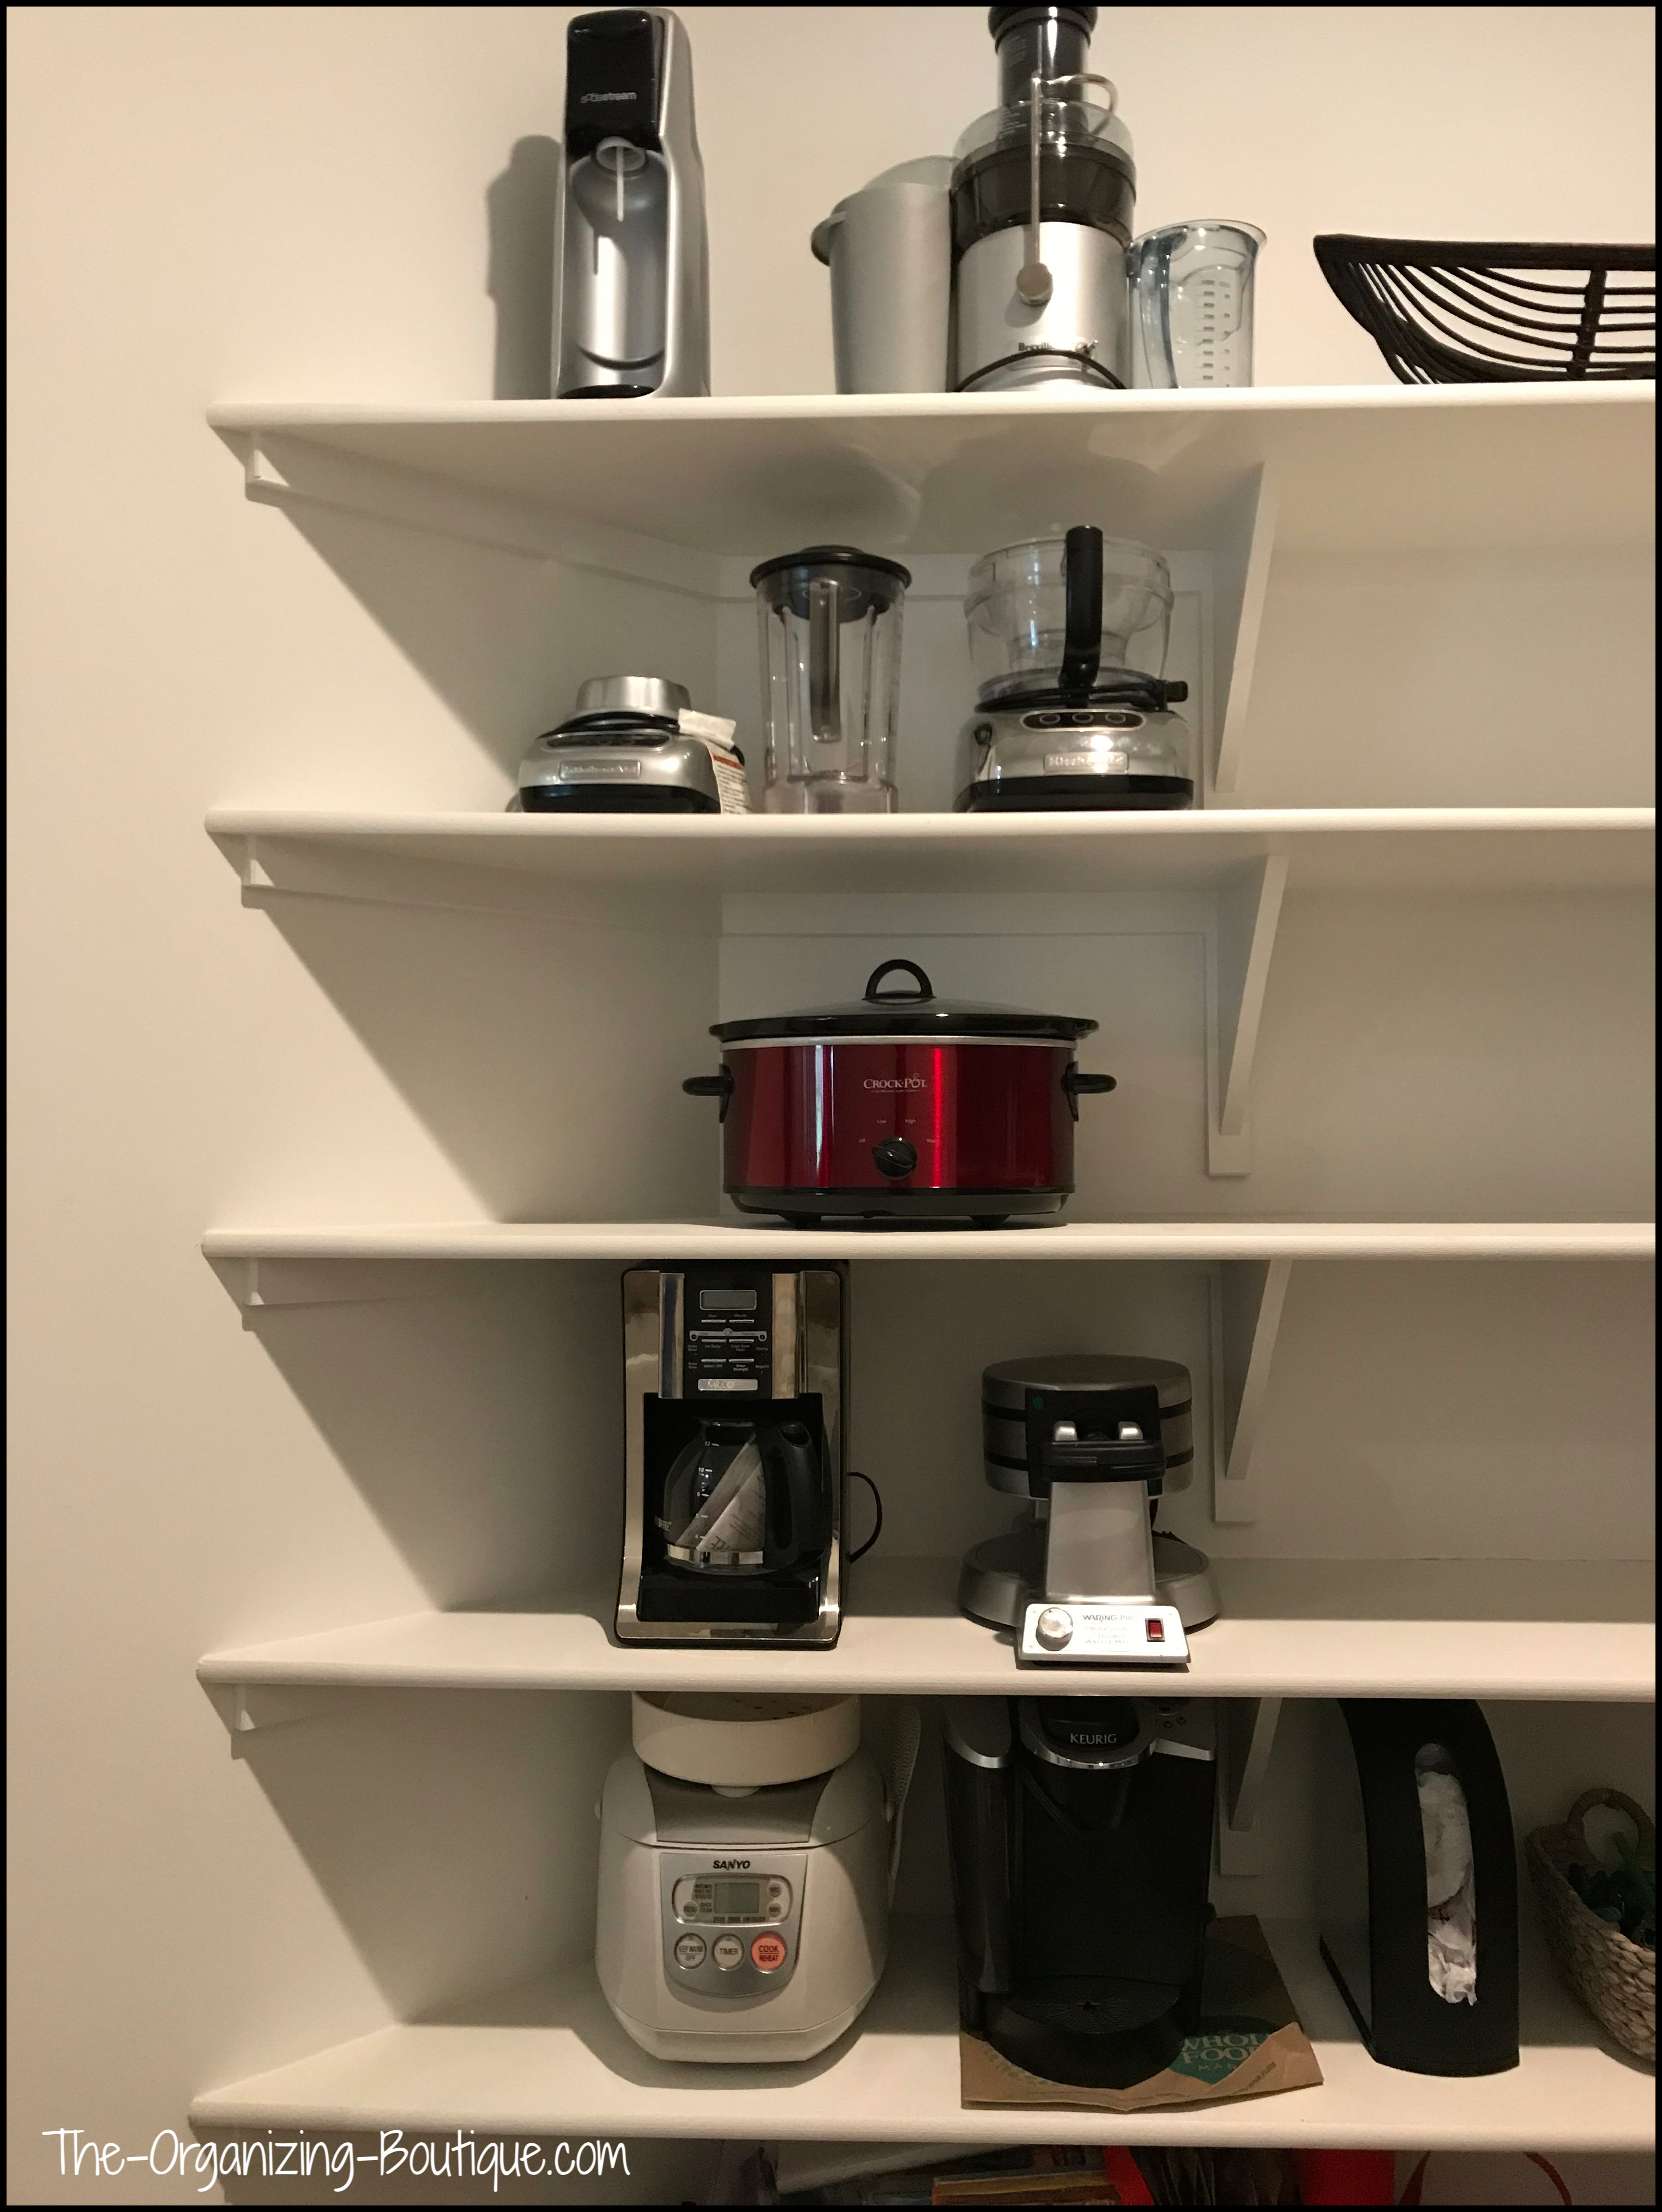
We used this narrow section of the pantry room for appliances. The items that she uses the least were put on the top shelf. We worked our way down and the appliances she uses frequently are the most accessible.
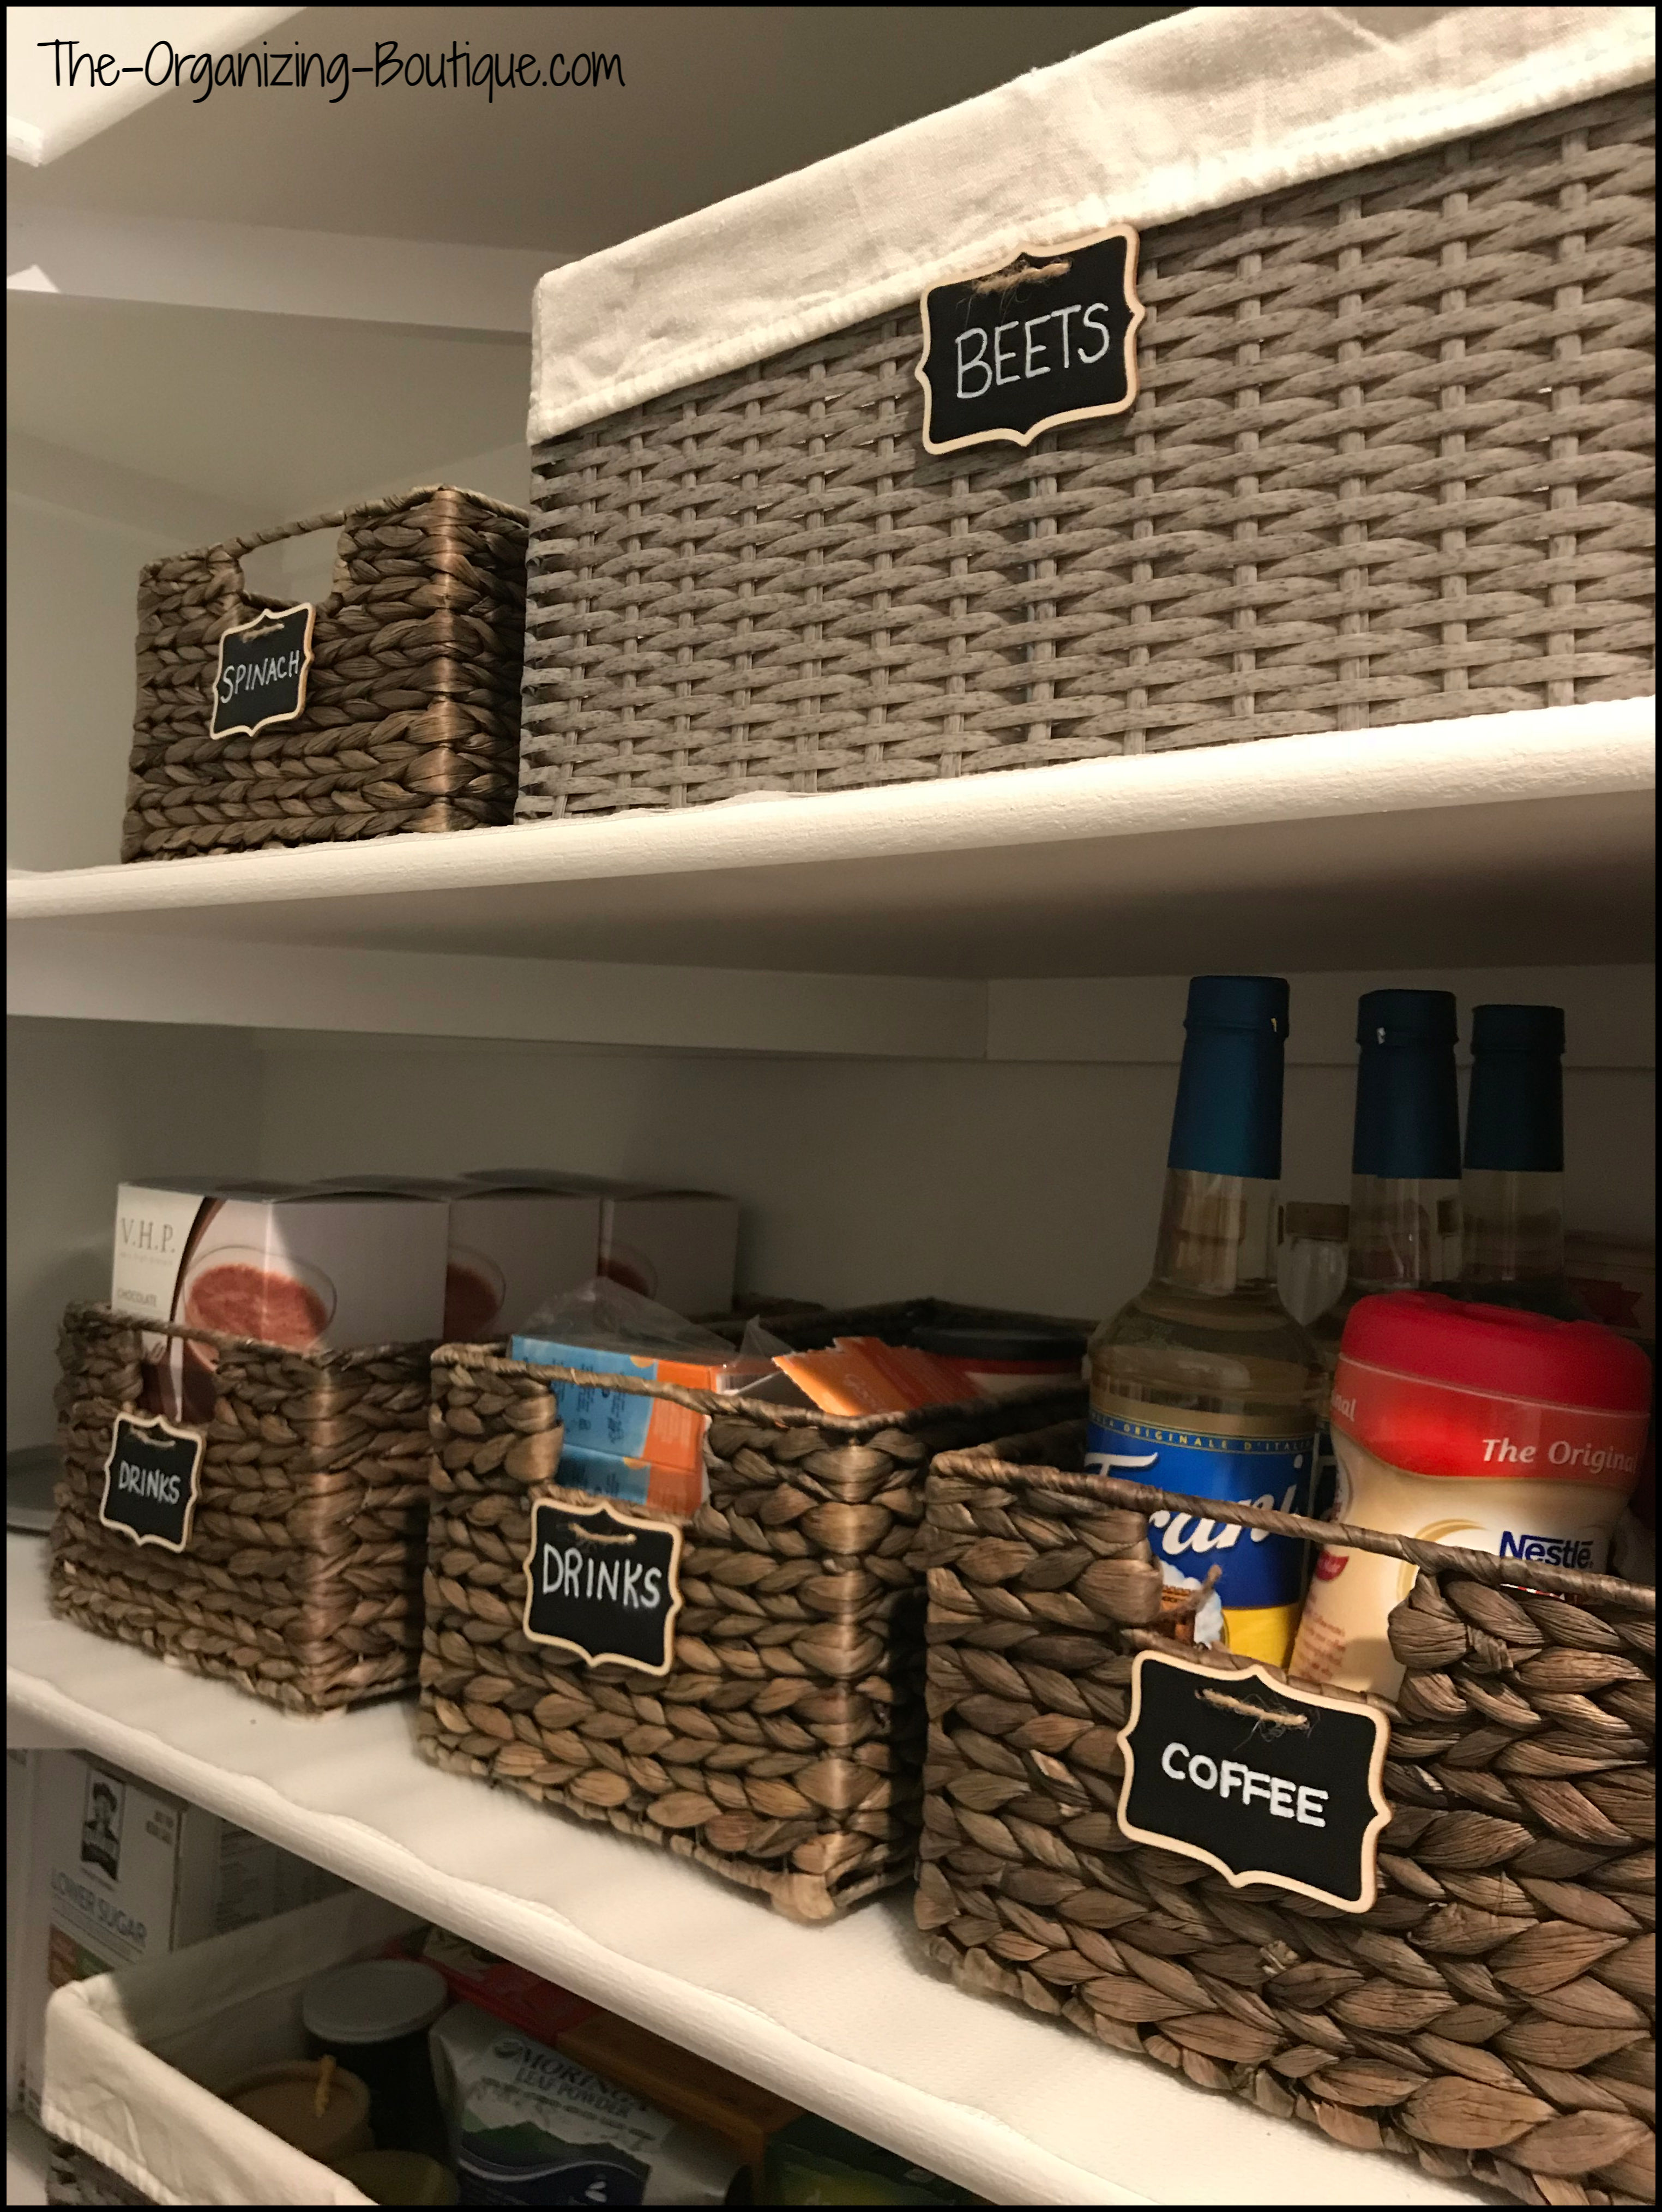
Then we labeled the bins and baskets, so everyone in the household can find what they are looking for as well as put it back. We used these wooden chalkboard labels, and they look so good!
The gray baskets with liners are also from The Container Store and worked well for the larger items stored on the floor (cookbooks, paper towels, large bags of rice and napkins).
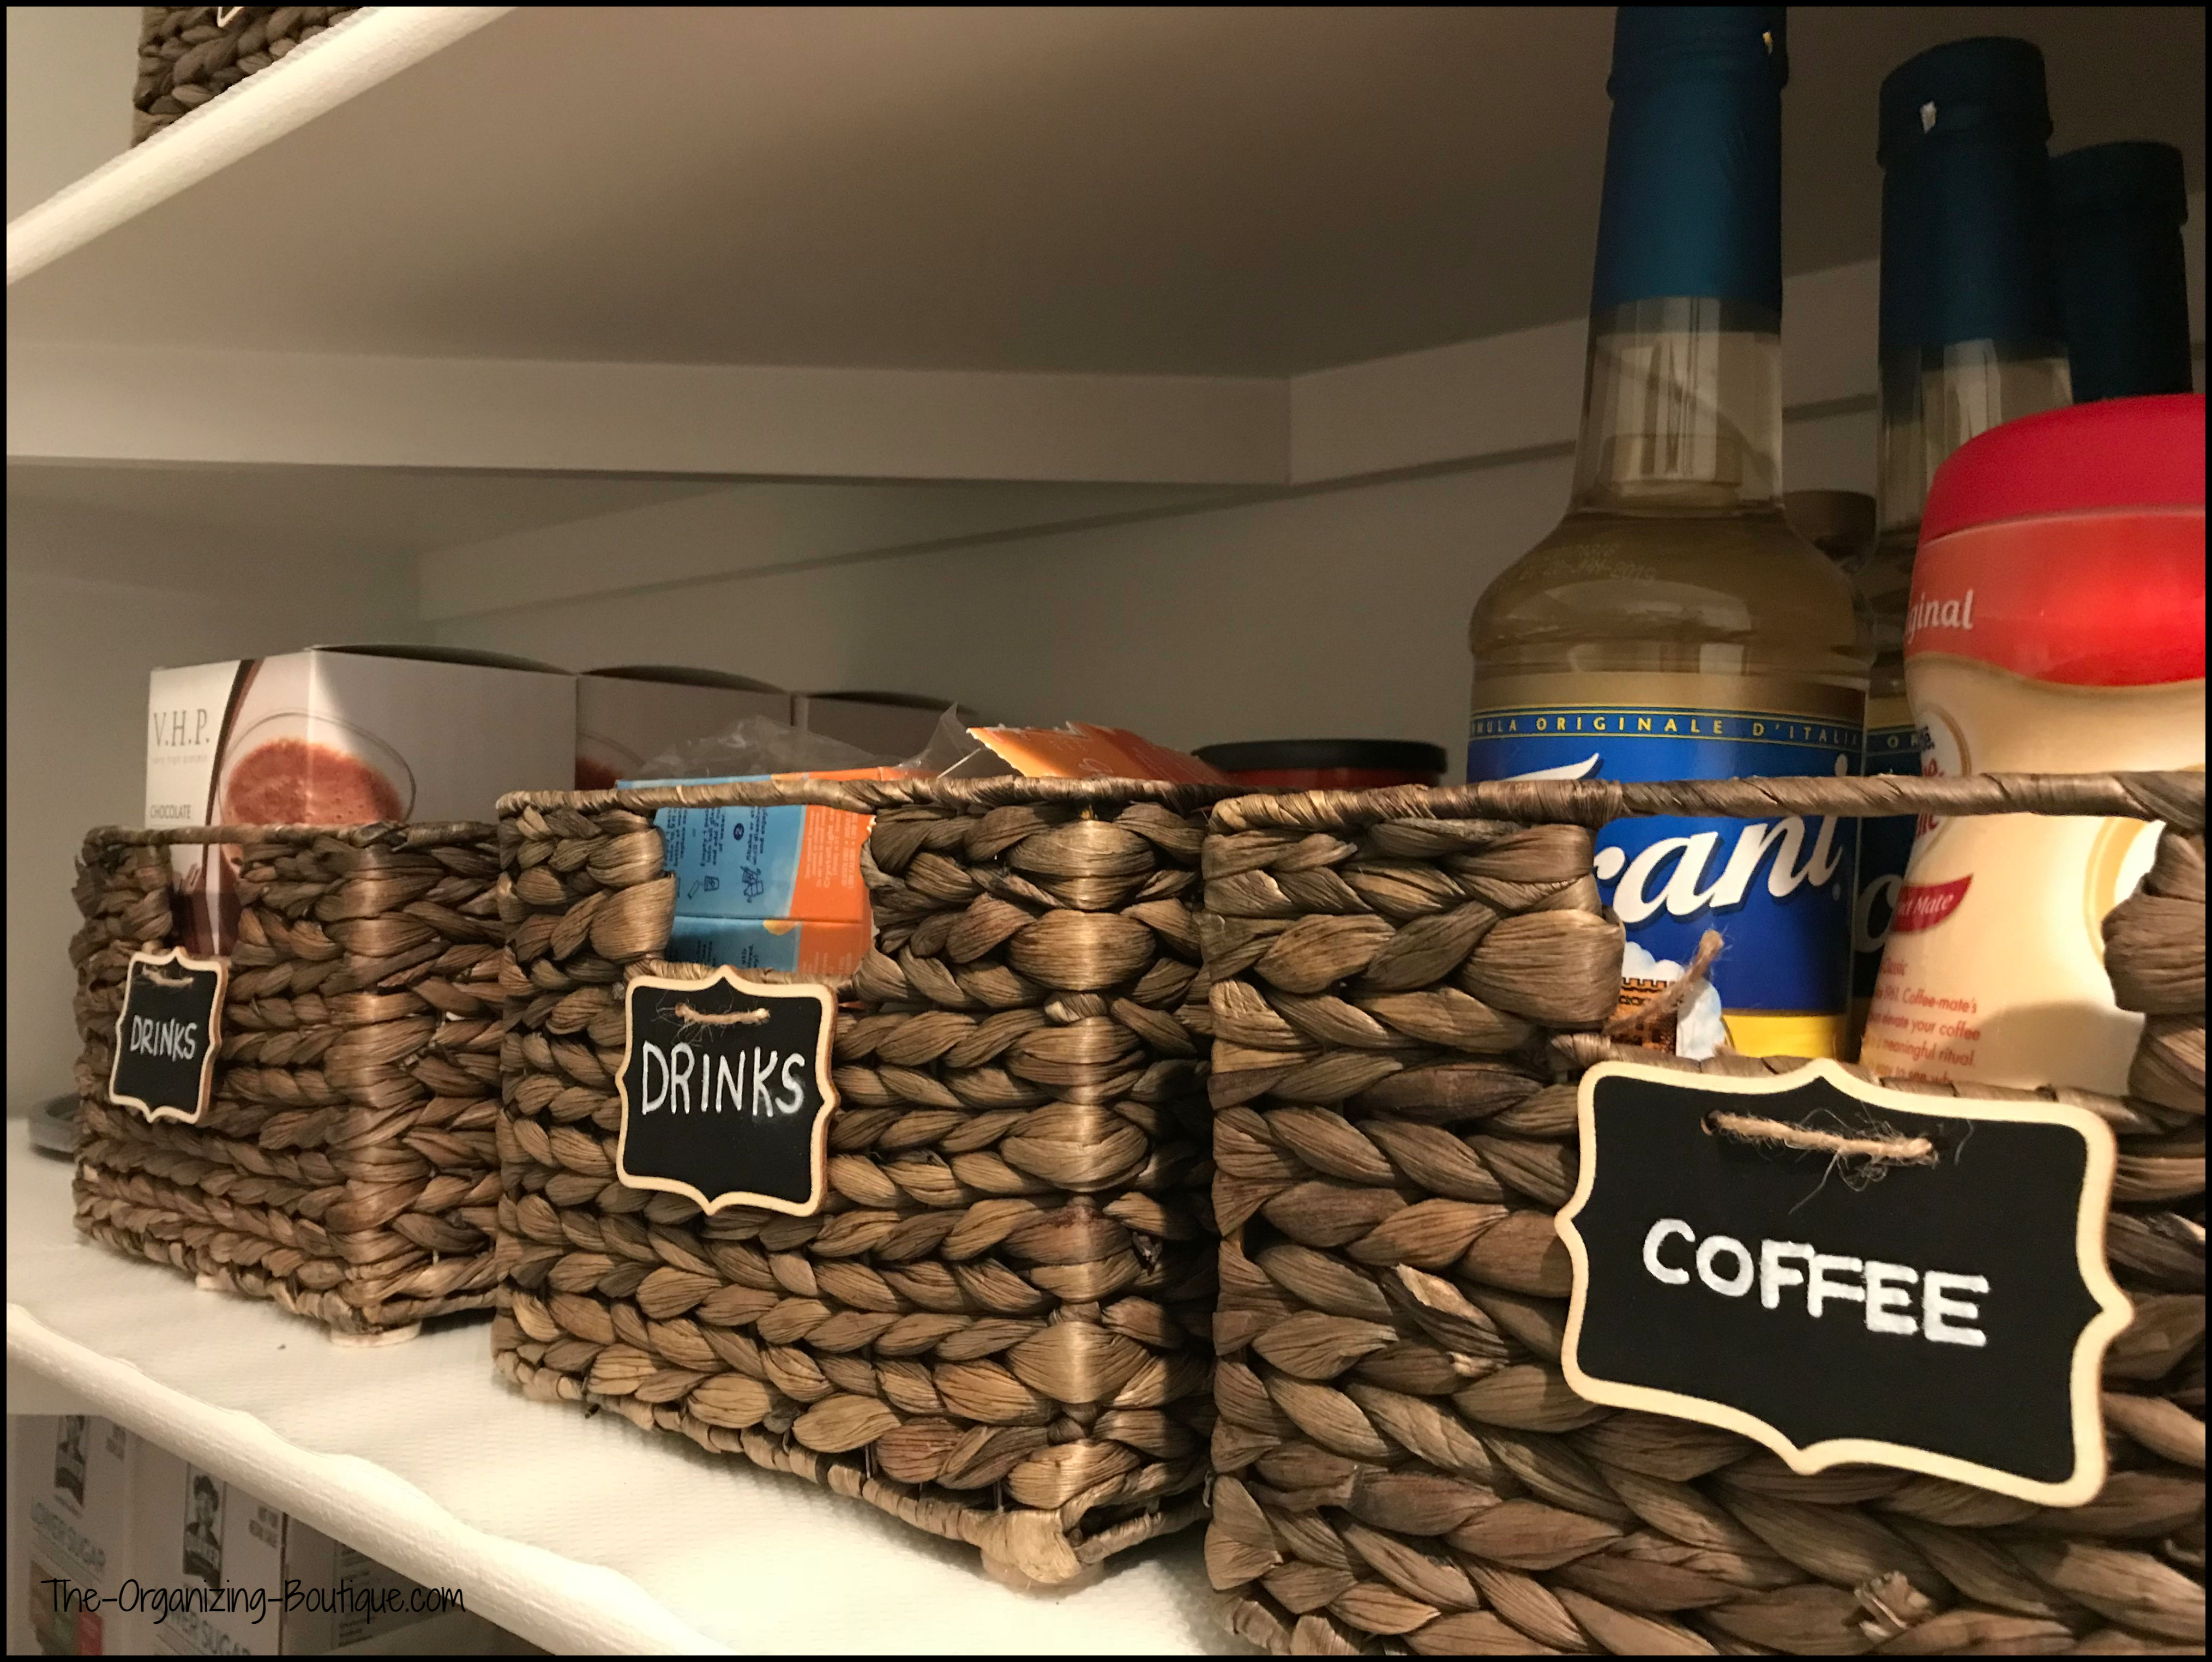
My client wanted to deter her kids from helping themselves to too much candy and other sweets, so she decided that "Beets" and "Spinach" were appropriate labels to hide those goodies. It worked, too! She said her children haven't gone near those baskets. LOL.
Here are before and after photos side by side. What a beautiful transformation!
 |
 |
I Crush Clutter T-Shirt
(and more customizable products from Zazzle)
You might also like these...
How To Organize Small Spaces | Living In Small Spaces
Organizing small spaces is challenging, but it absolutely can be done! Here are some great tips on how to organize small spaces.
Organizing Kitchen Cabinets | Organizing Kitchen
Organizing kitchen cabinets is simple with these kitchen cabinet organization tips. Enjoy!
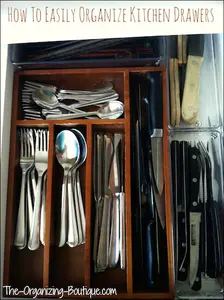
Kitchen Drawer Organizers | Organizing Kitchen
Organizing a kitchen? Kitchen drawer organizers are great for keeping utensils and other kitchen items in order. Here's how!
Like What You Just Read? Want More?

GET UPDATES
MEET THE ORGANIZER

Hi and welcome to The Organizing Boutique! My name is Nealey, and it's lovely to meet you. Read more about me here.
Facebook Comments